Steps to integrate G Suite with NLP
Domain name and Private key JSON file are needed to integrate School’s G Suite with NLP to host lectures with Google Meet in NLP.
- Domain Name: Suffix of School’s G Suite Email the text found after “@”.For example, if G Suit Email is “name@yourschool.com” then the domain name is “yourschool.com”.
- Private key JSON file: Steps for creating JSON file and setting up integration are as follows
-
- Enable API Access
- Create a Service Account
- Authorize Calendar API
-
Enable API Access
- Go to https://console.developers.google.com. Sign in with the G Suite admin account.
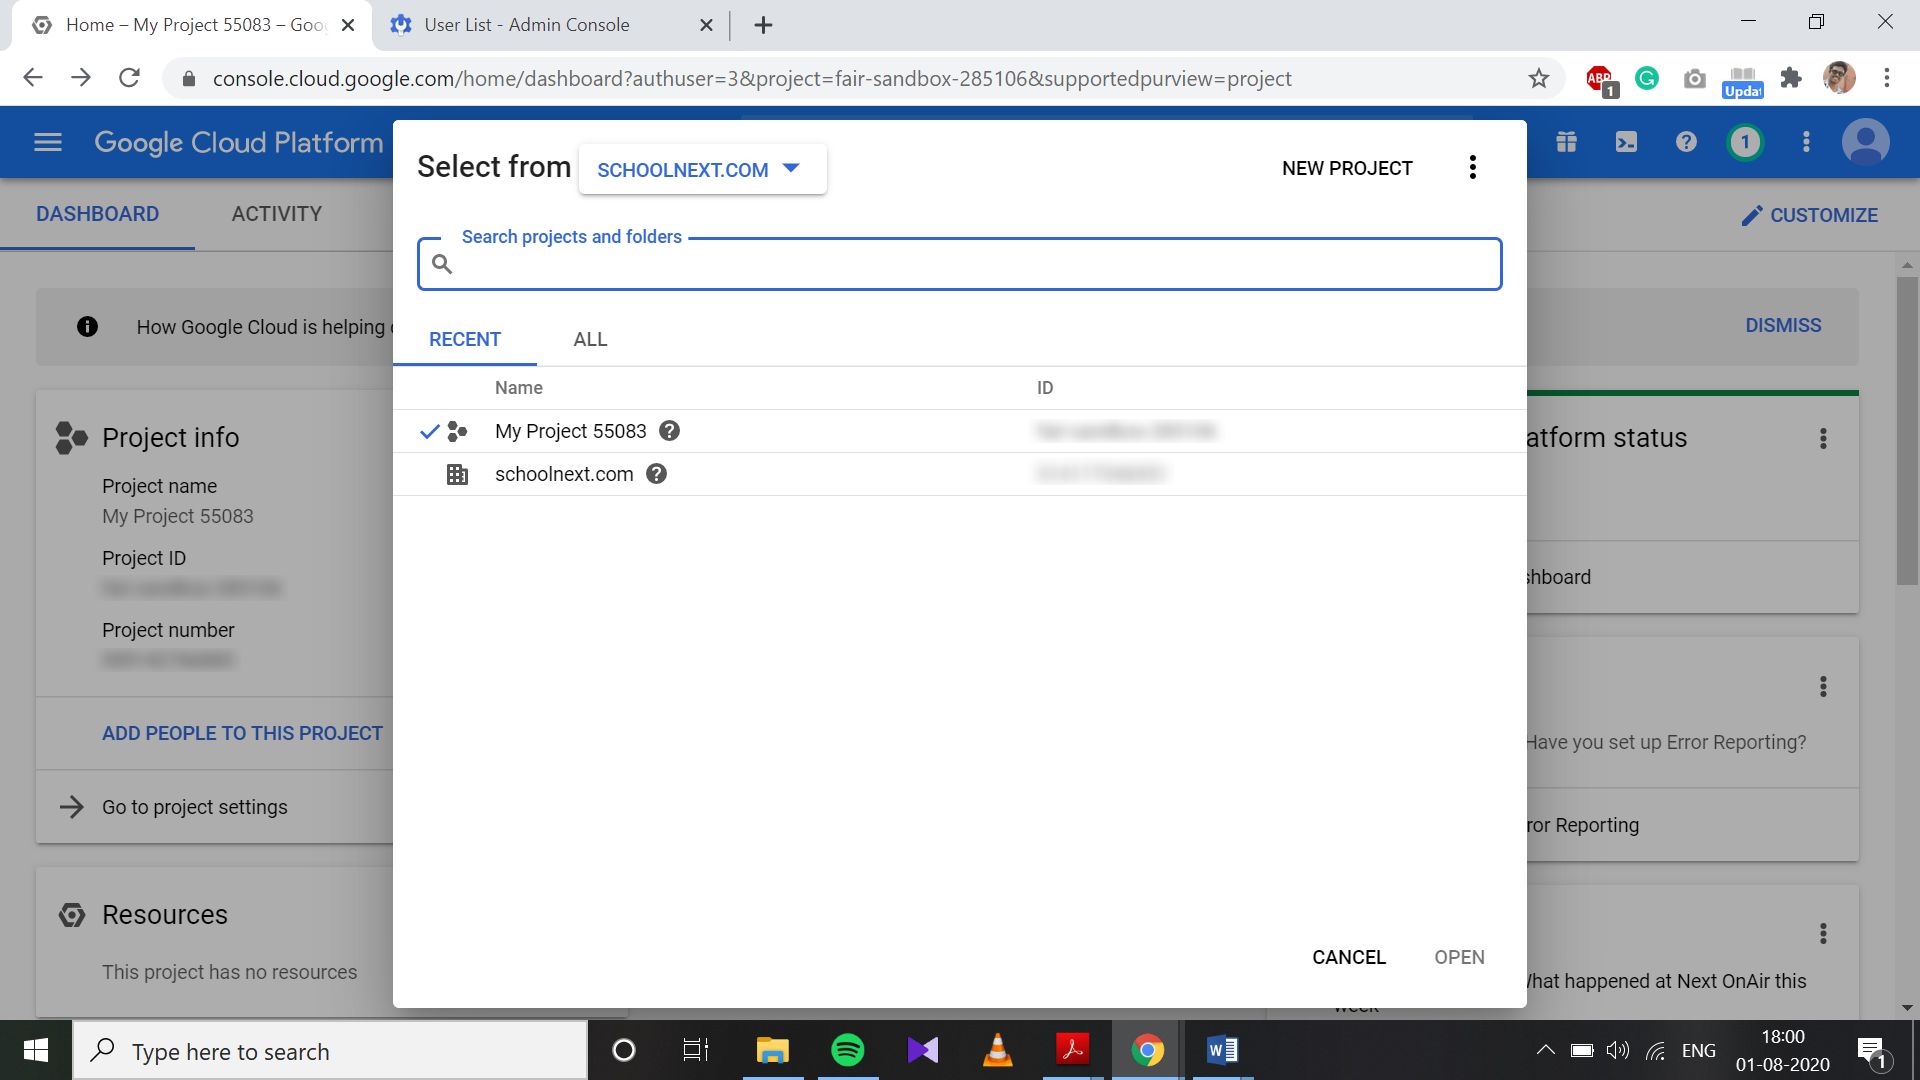
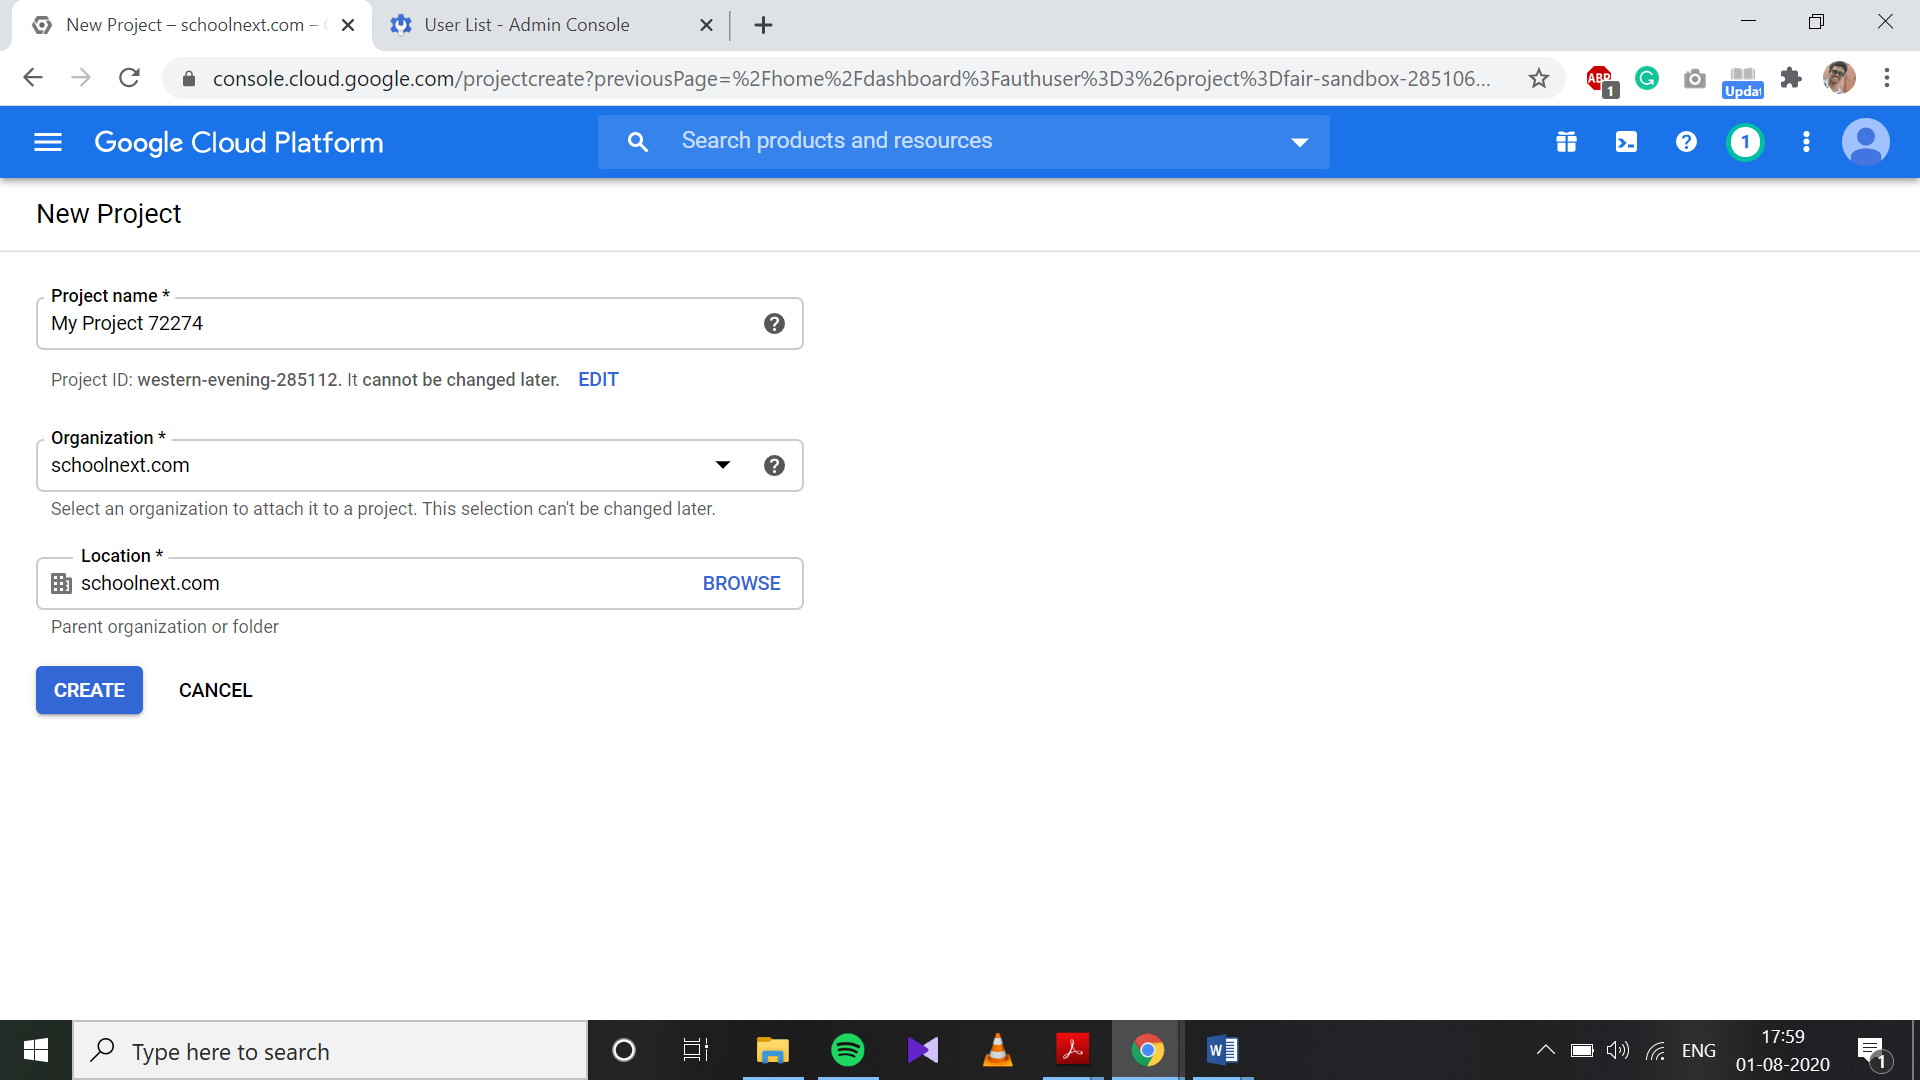
- In the Home > Dashboard page, create a project under your School’s domain if you don’t already have one, or select an existing one.
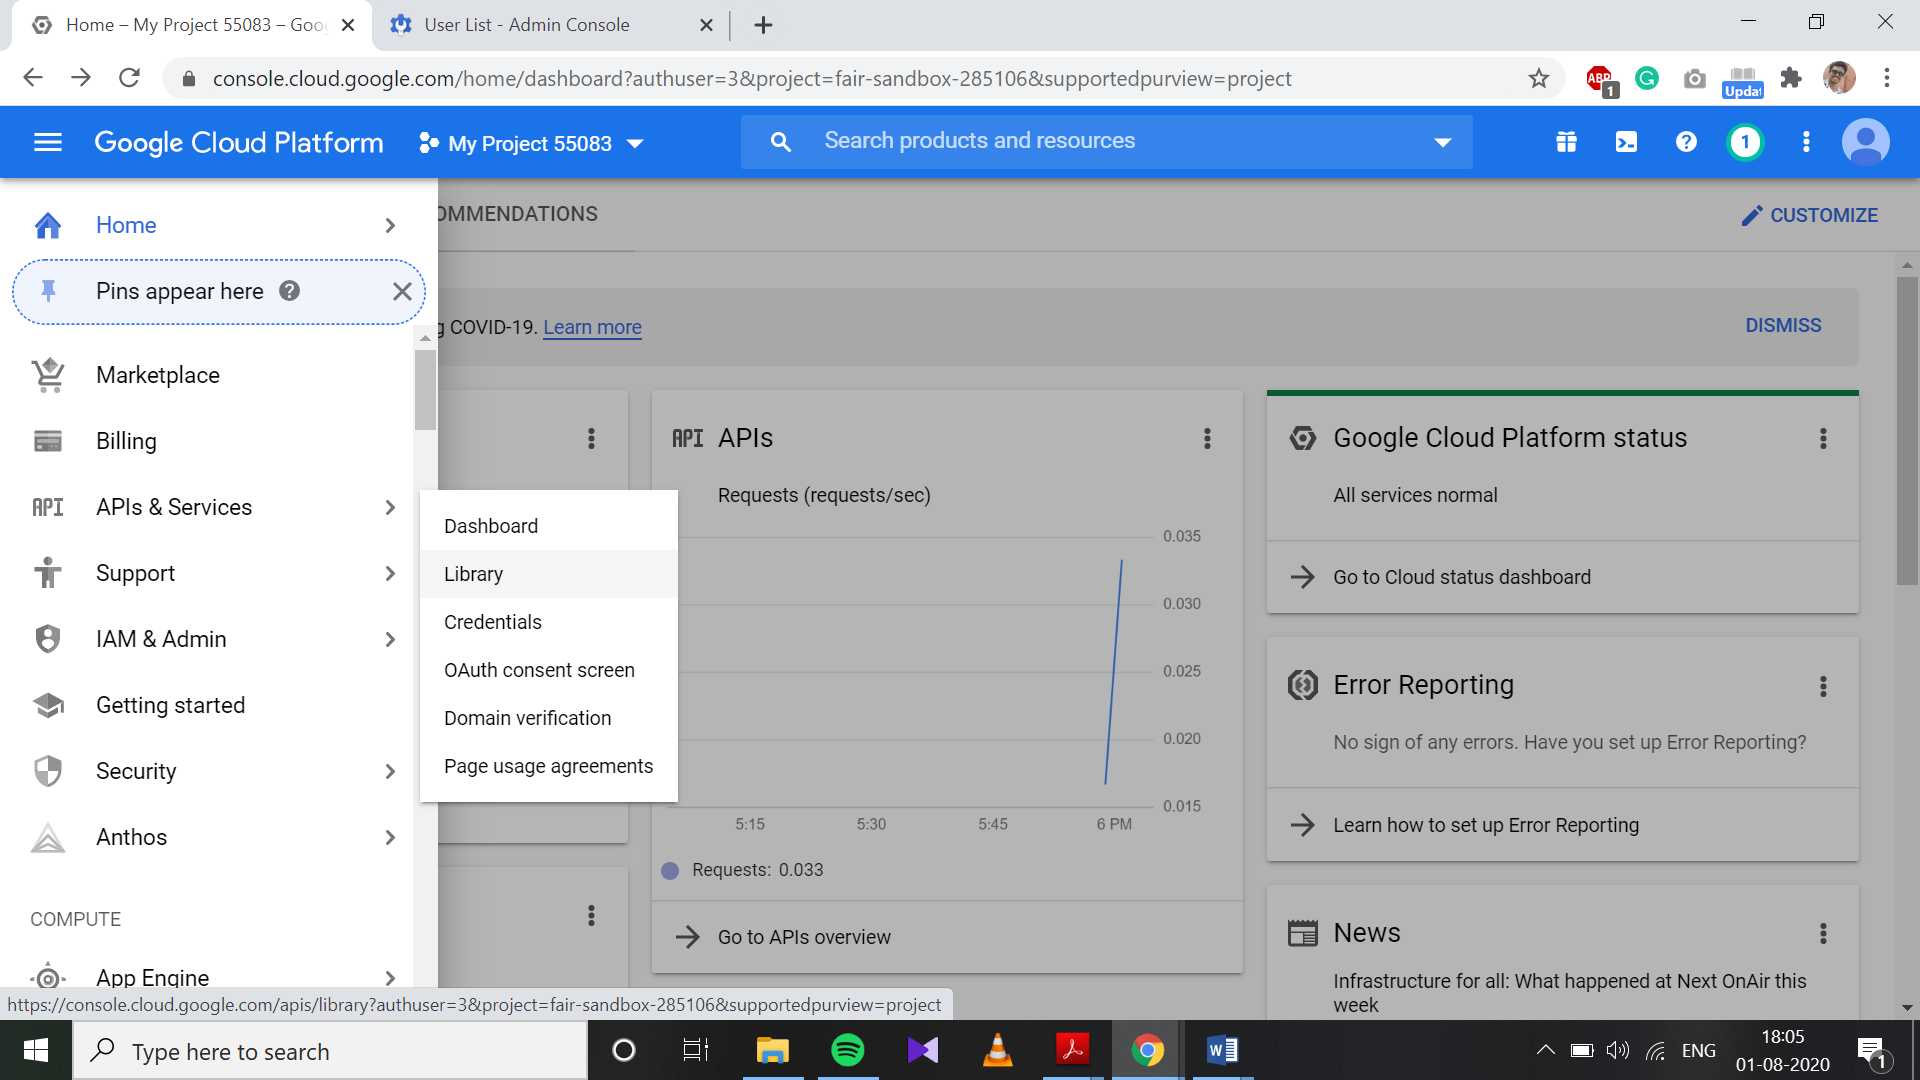
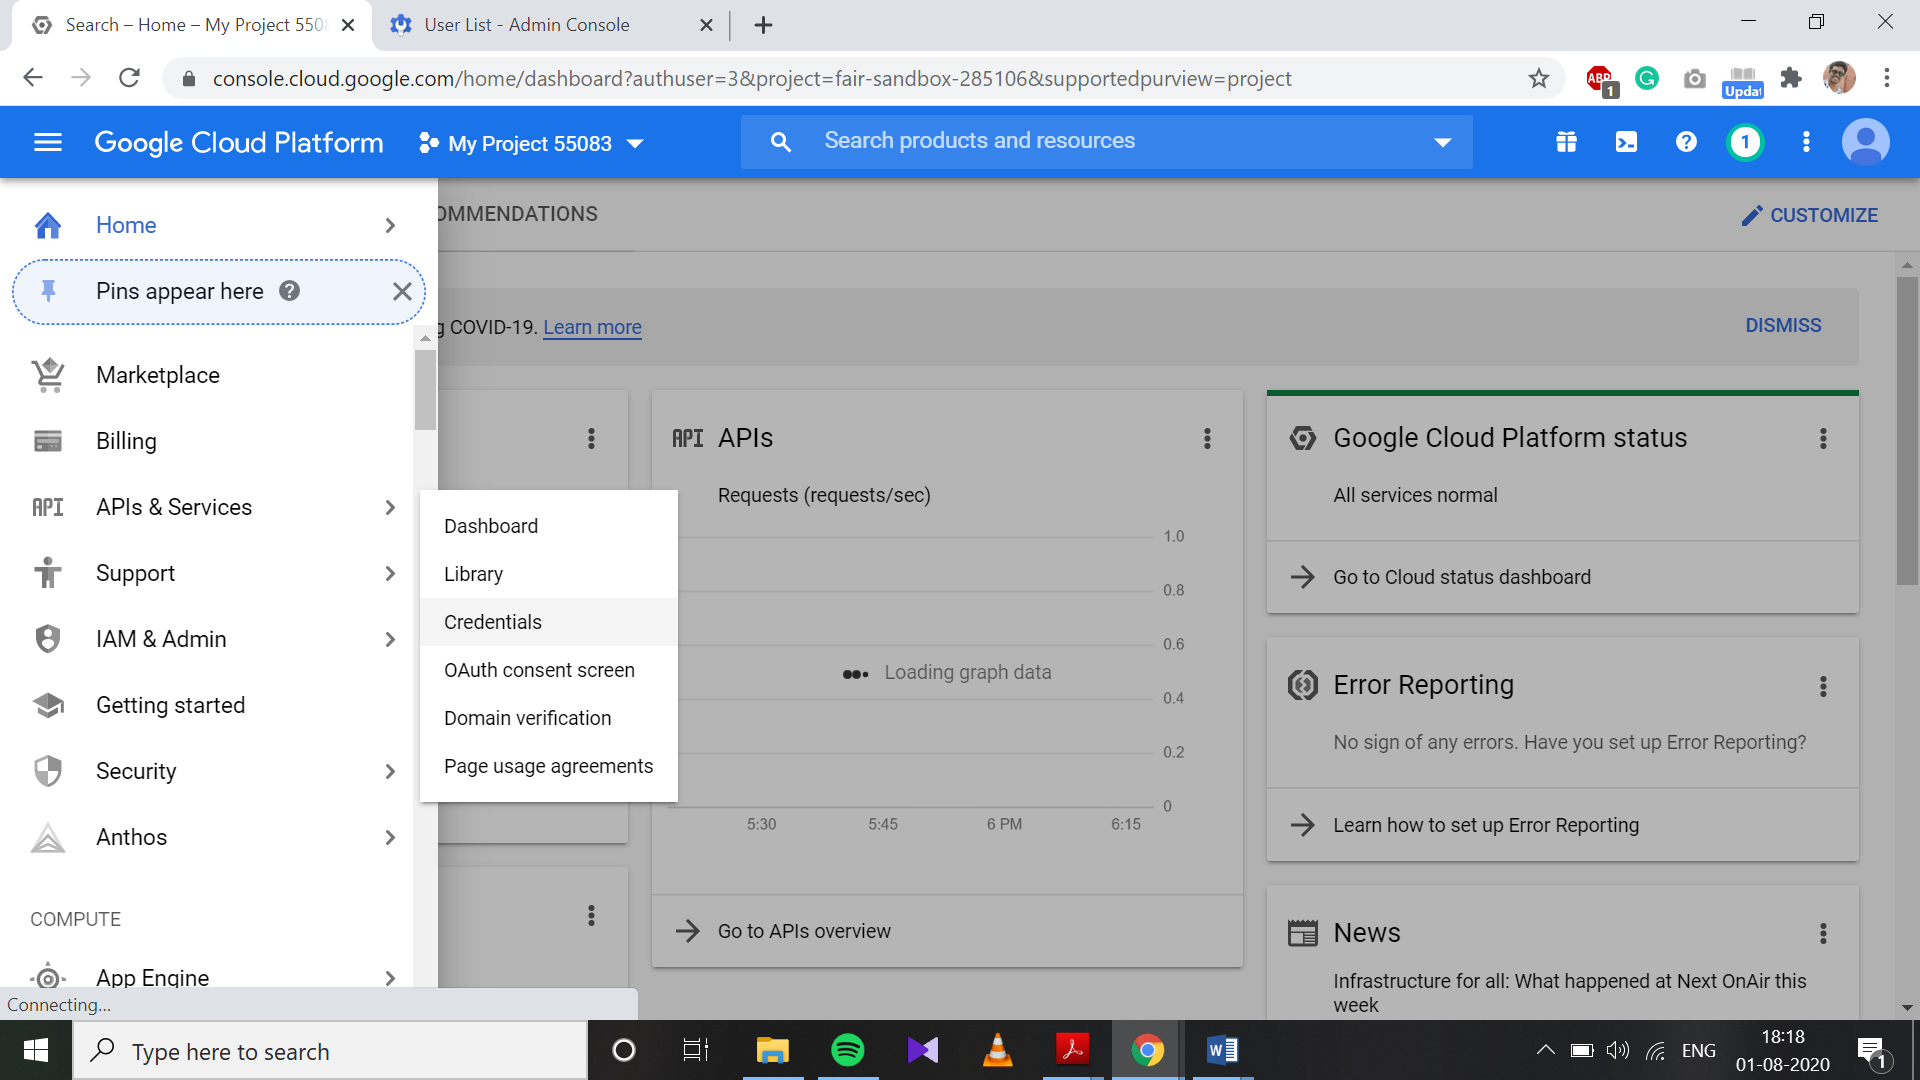
- Under the API & Sevices pane, click on Library to open the API Library page.
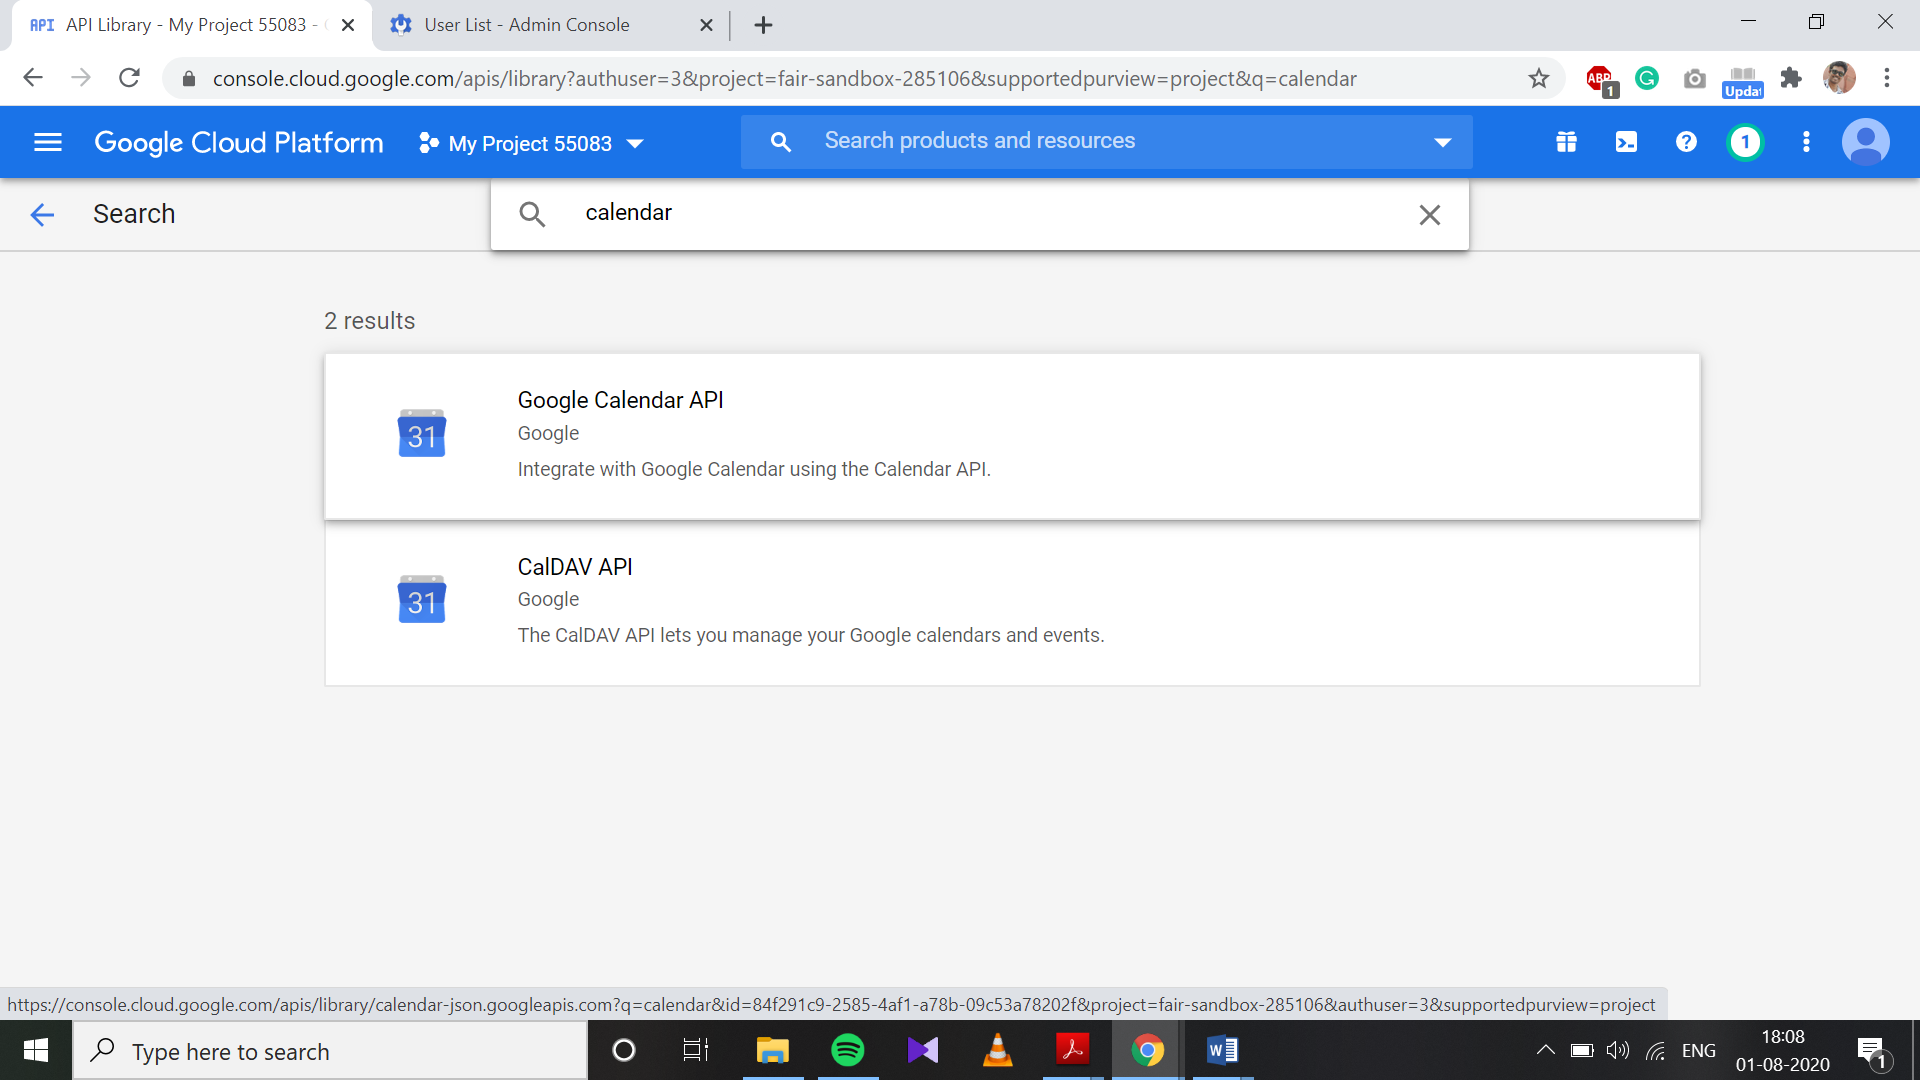
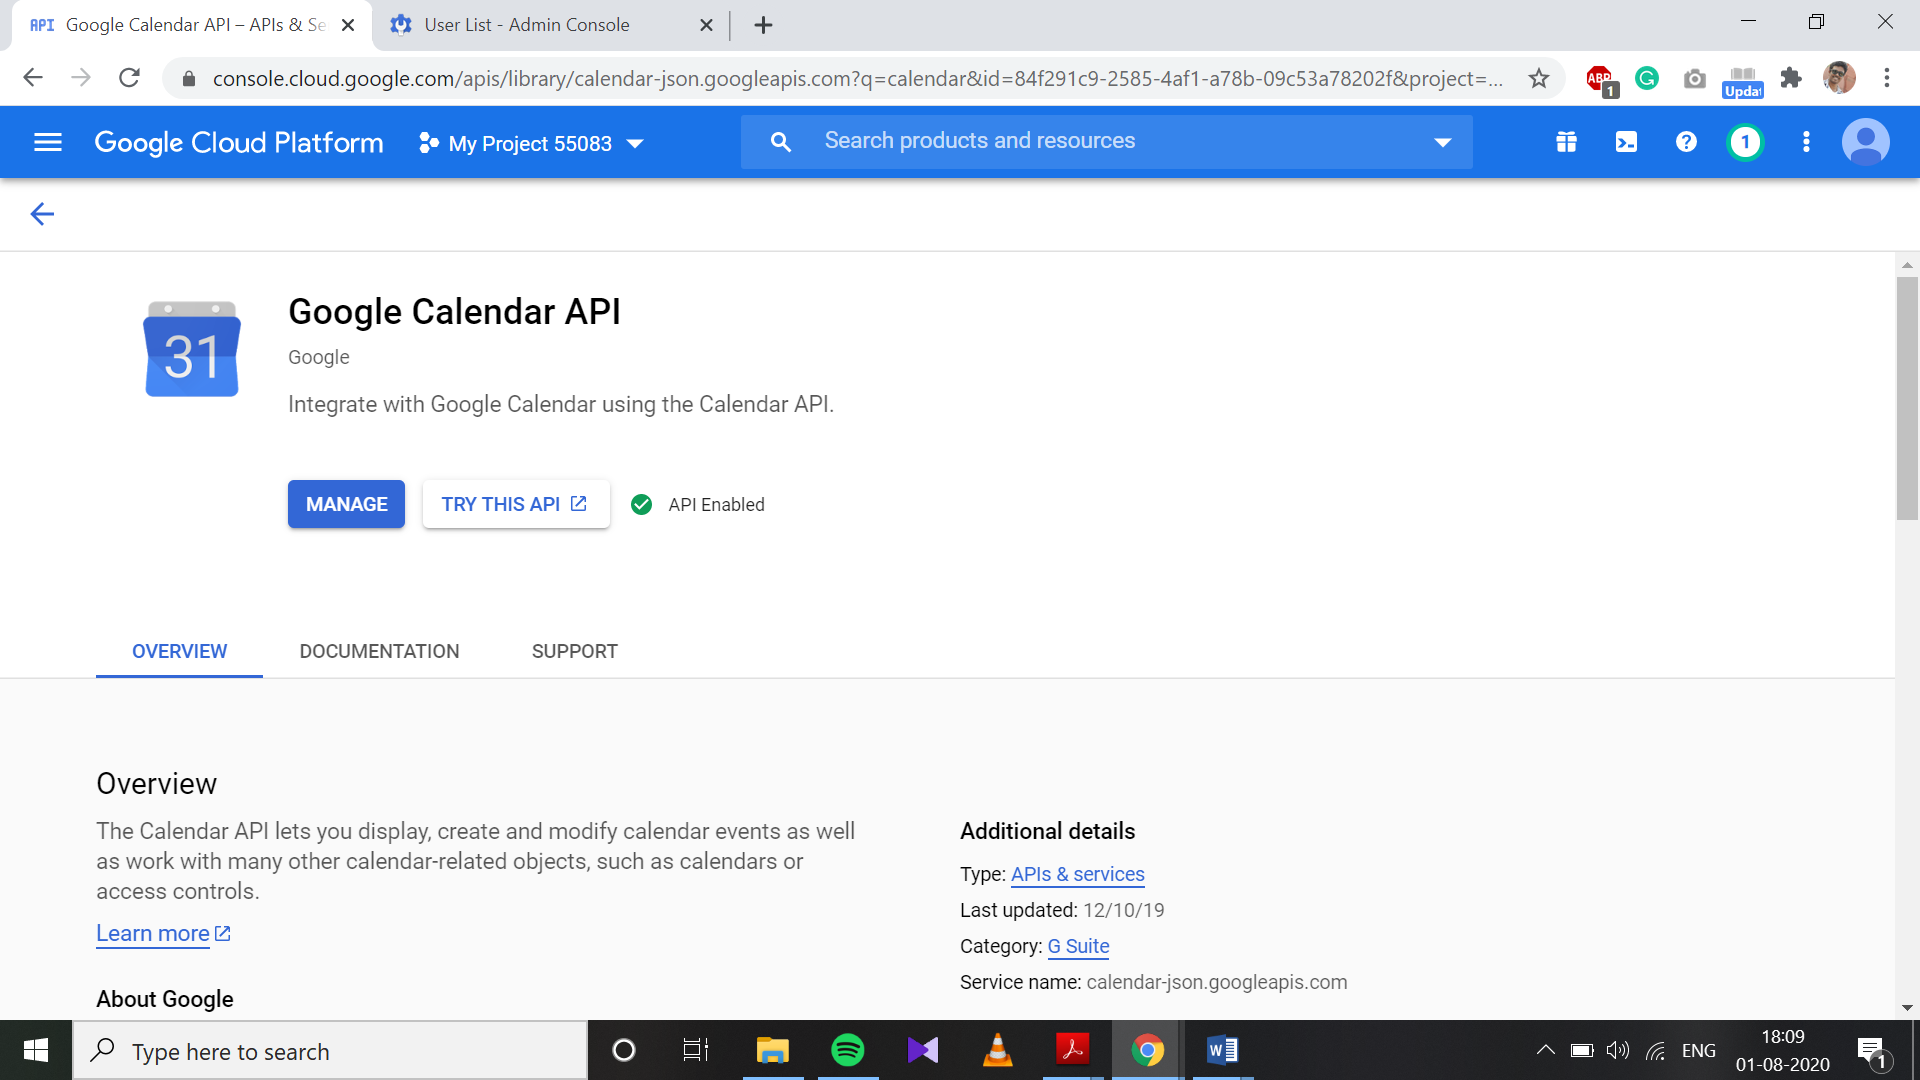
- Search for Calendar API and open the Calendar API page. Click on Enable.
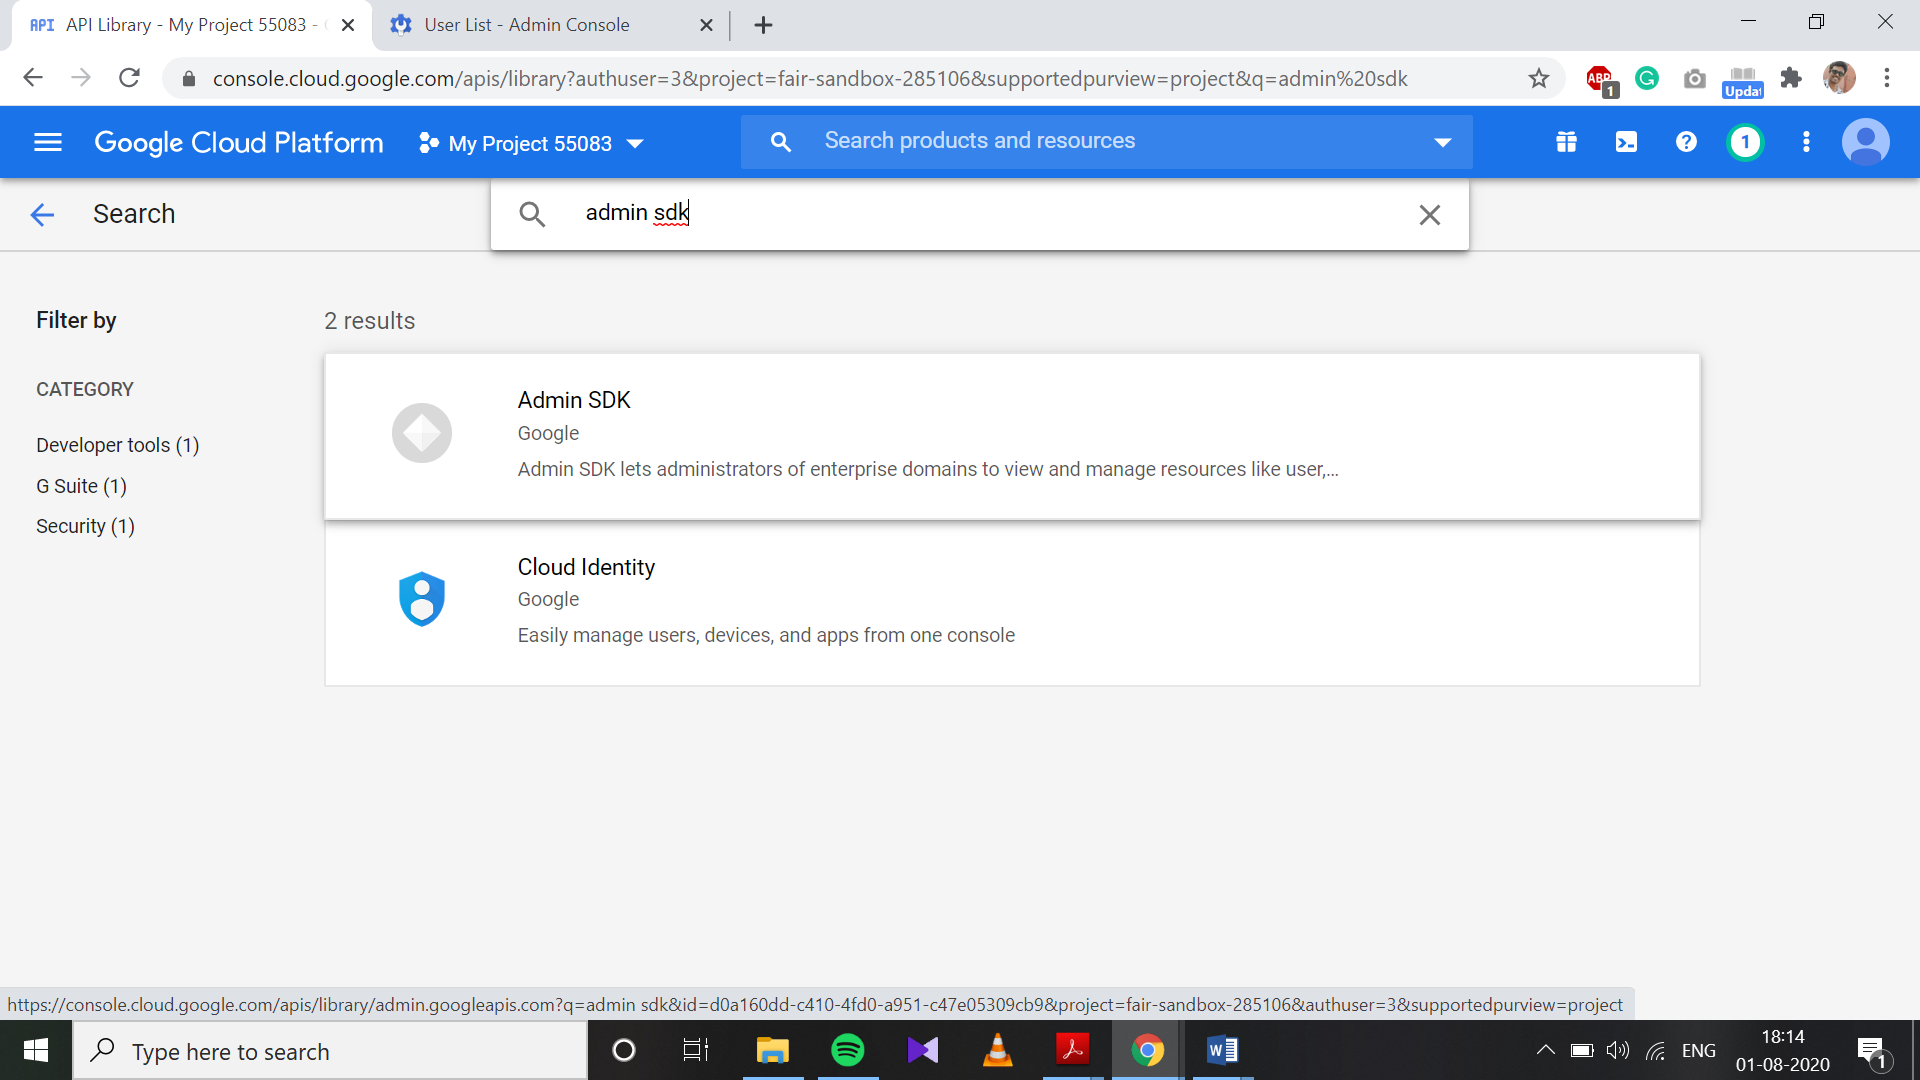
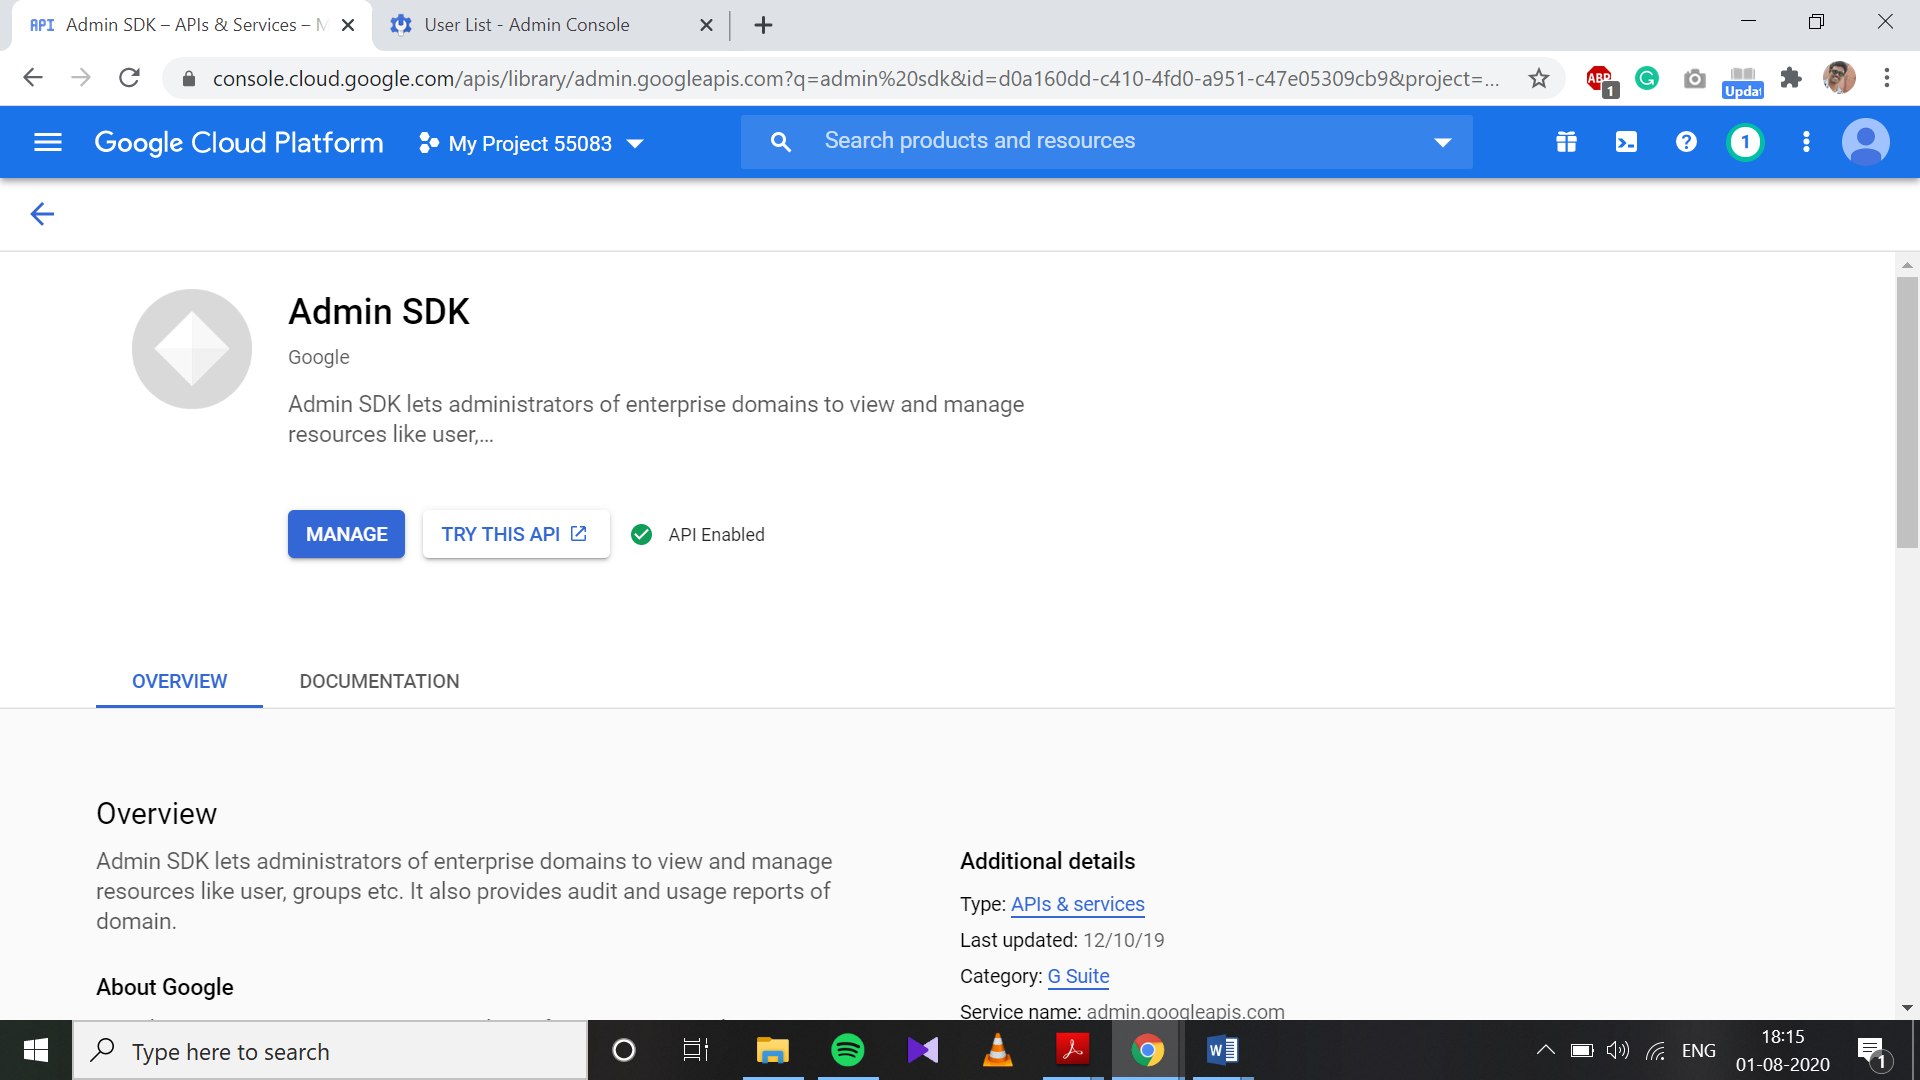
- Go back to Library and search for Admin SDK API and open the Admin SDK API page. Click on Enable.
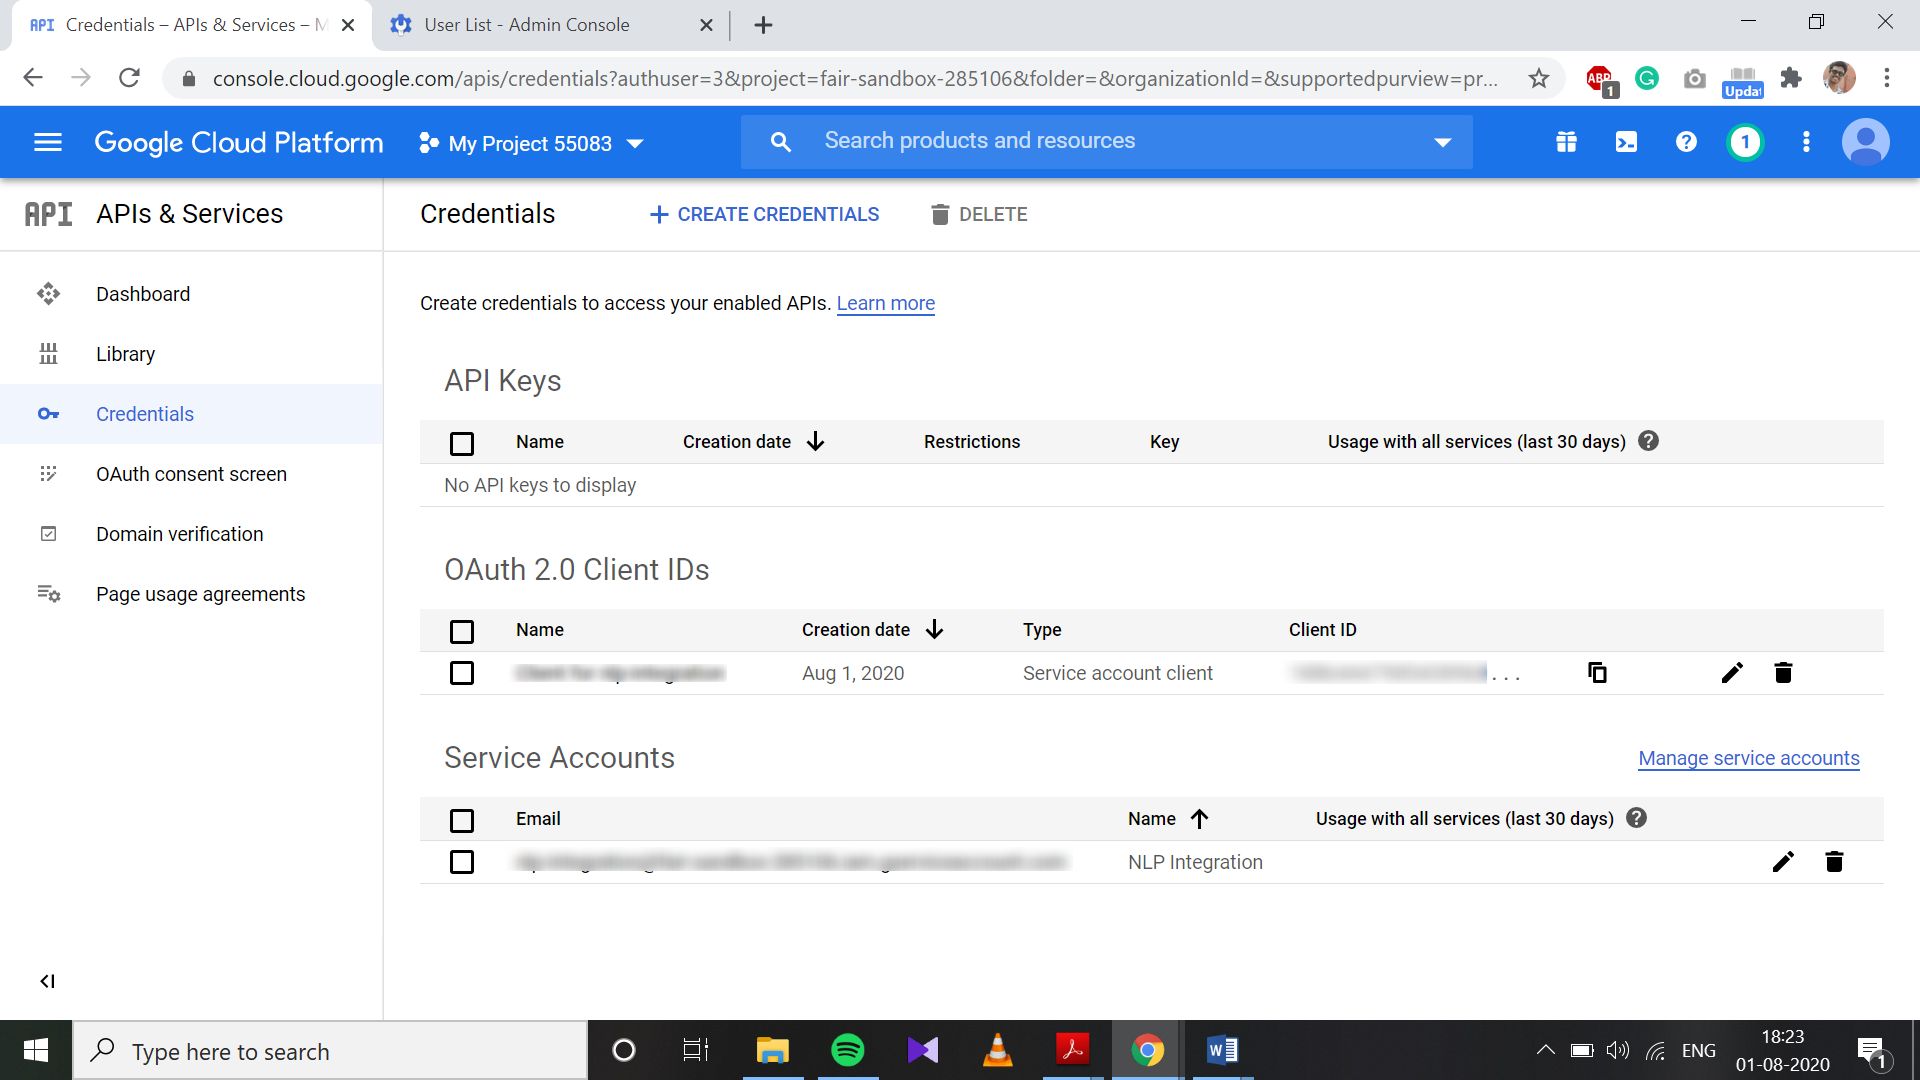
Create a Service Account- Go back to API & Sevices pane, click on Credentials to open the API Credentials page.
 2. Click on Create Credentials and select Service Account.
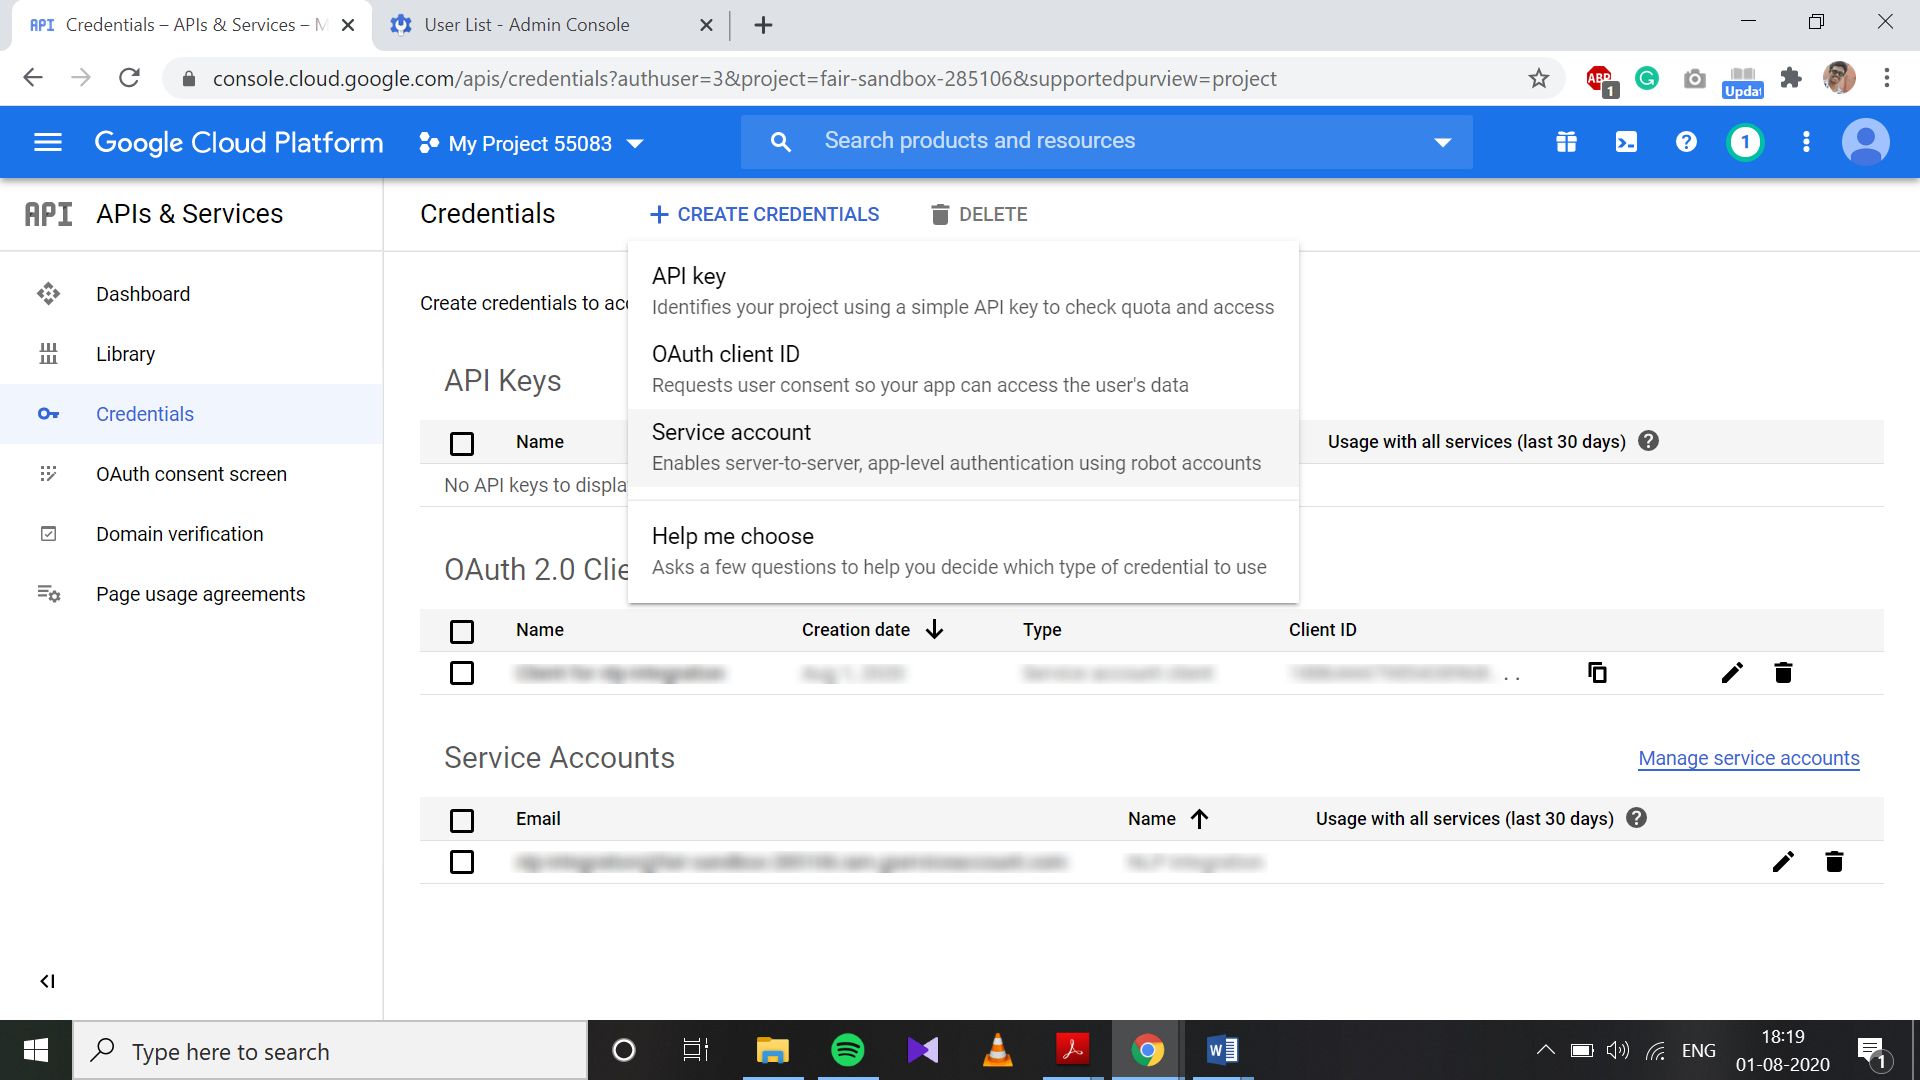
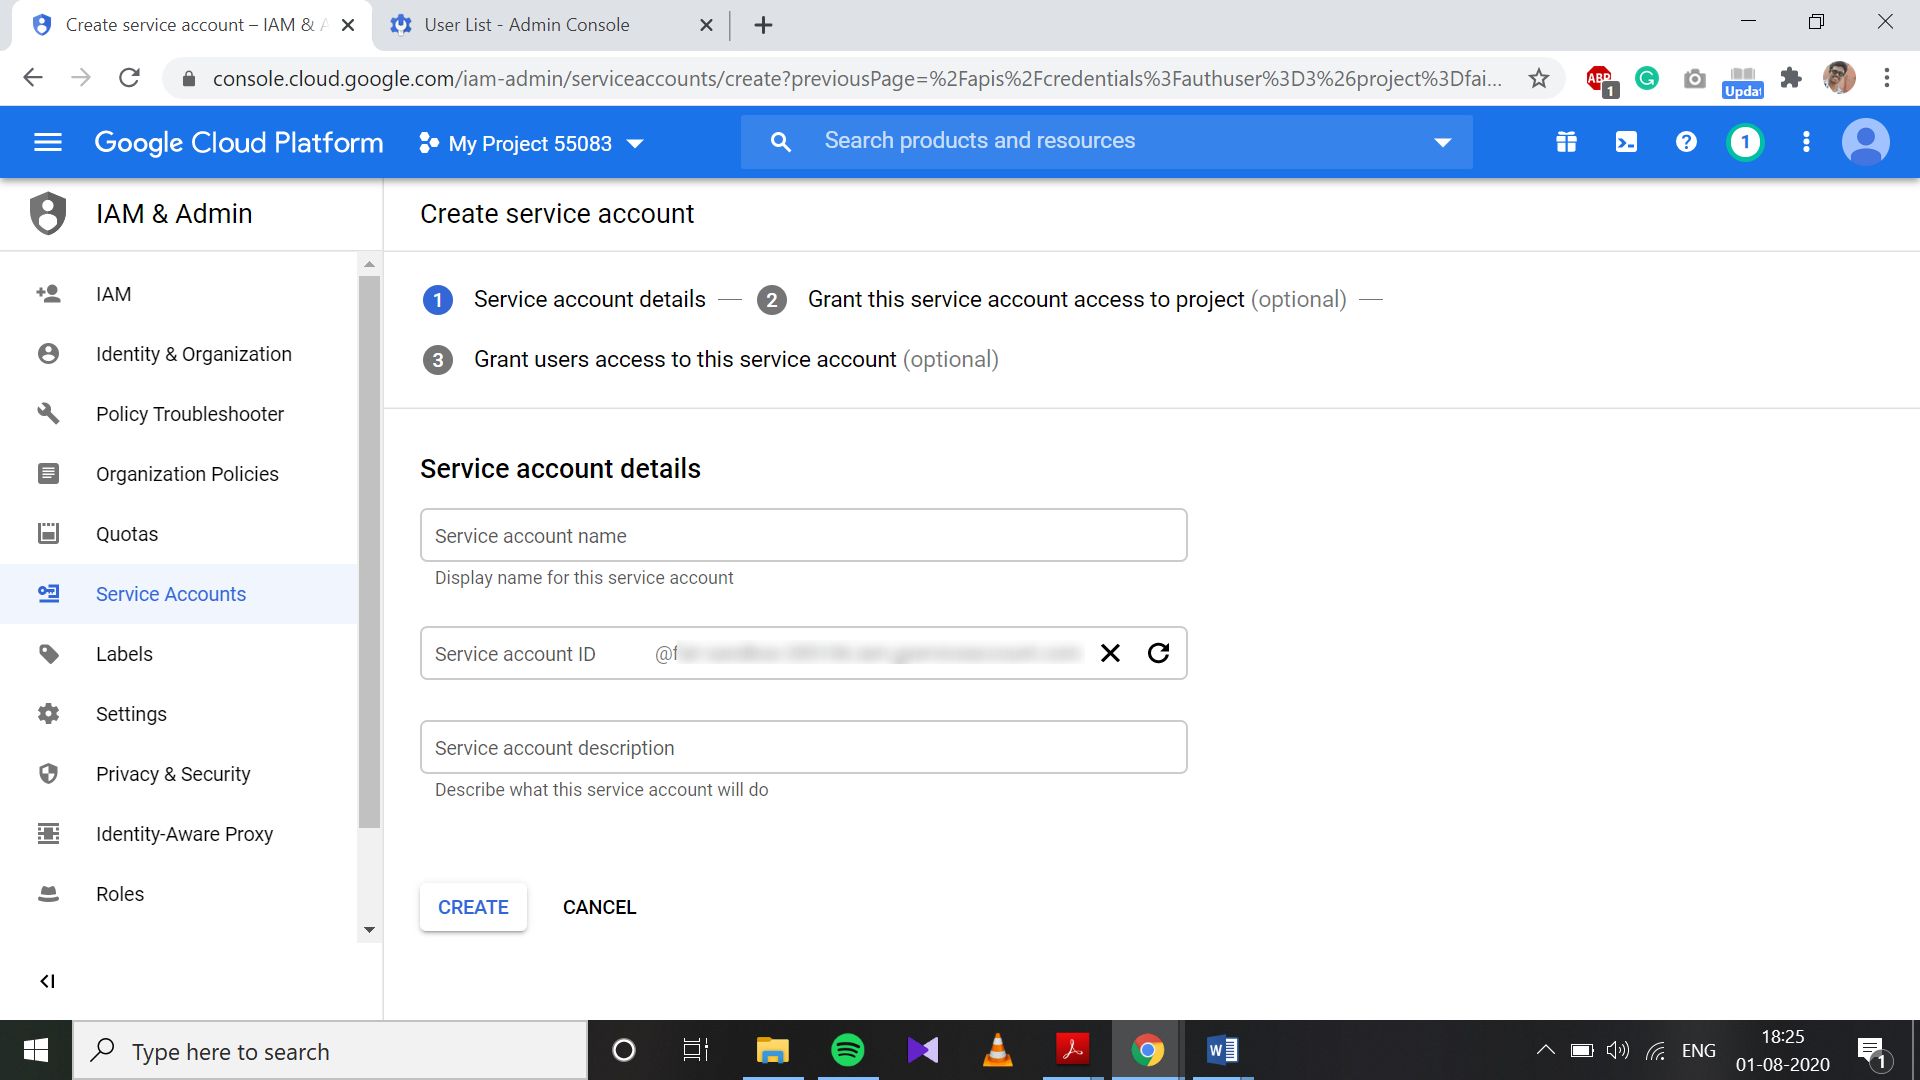
3. Enter the Service account name as “NLP Integration” and click on Create.- Skip steps 2 and 3 which are optional and click on “Continue” and “Done” respectively.
- Service Account would be created.
- Copy and save the Client ID. It would be required later in the process.
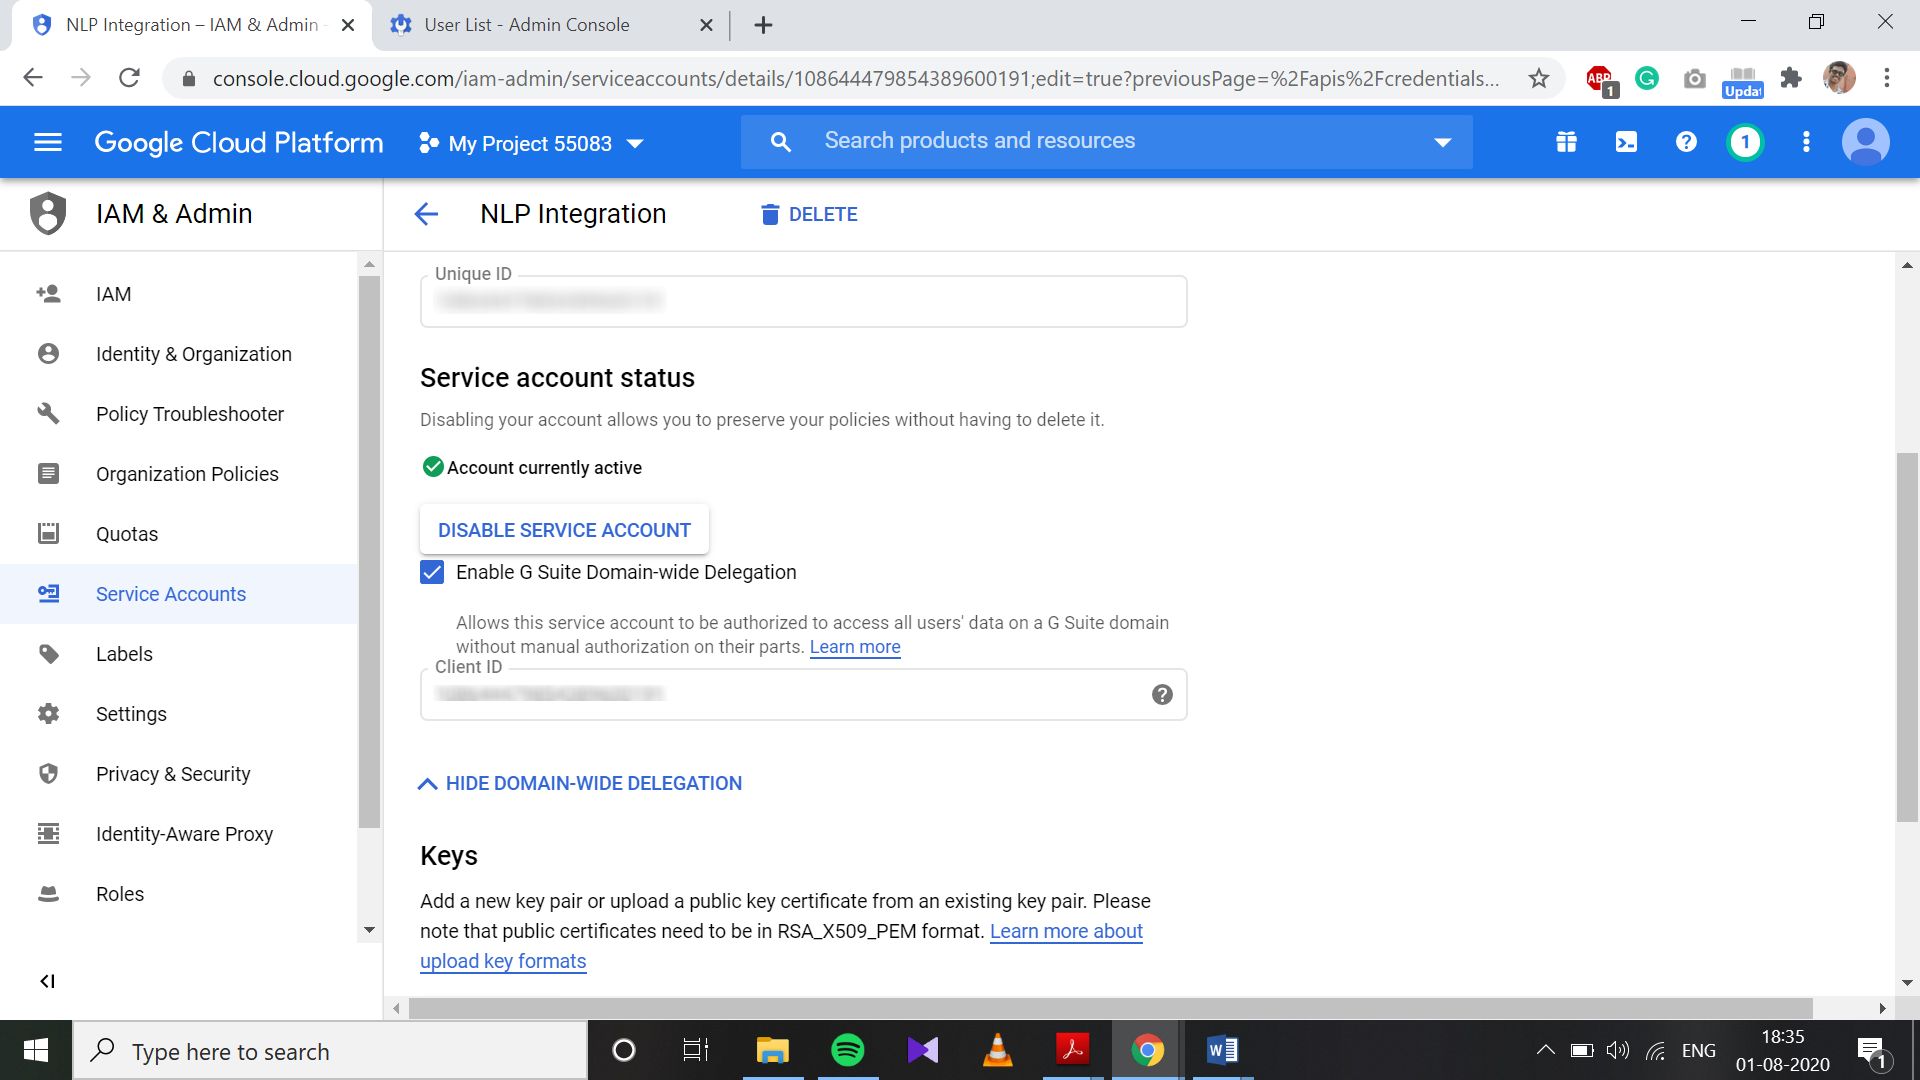
4. Click on Service Account created to open the configuration page.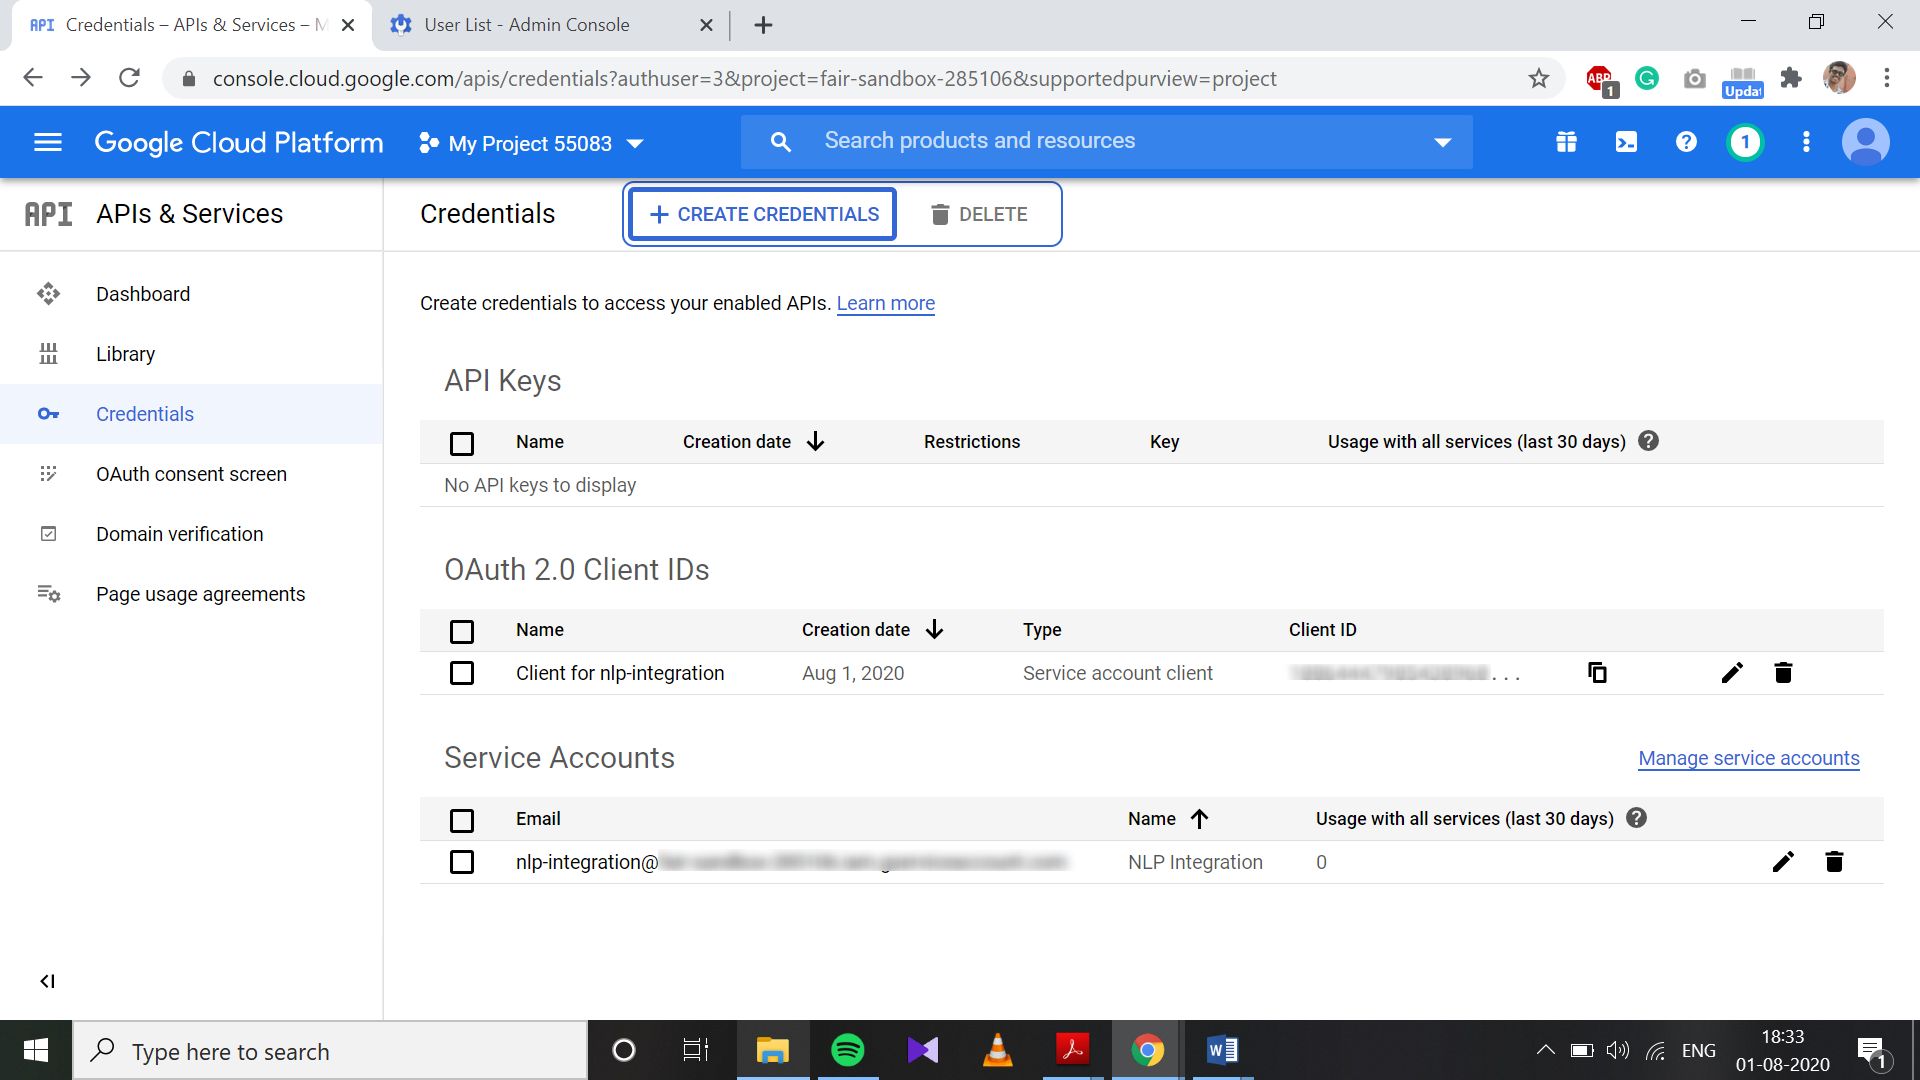
-
- Check Enable G Suite Domain-wide Delegation checkbox.
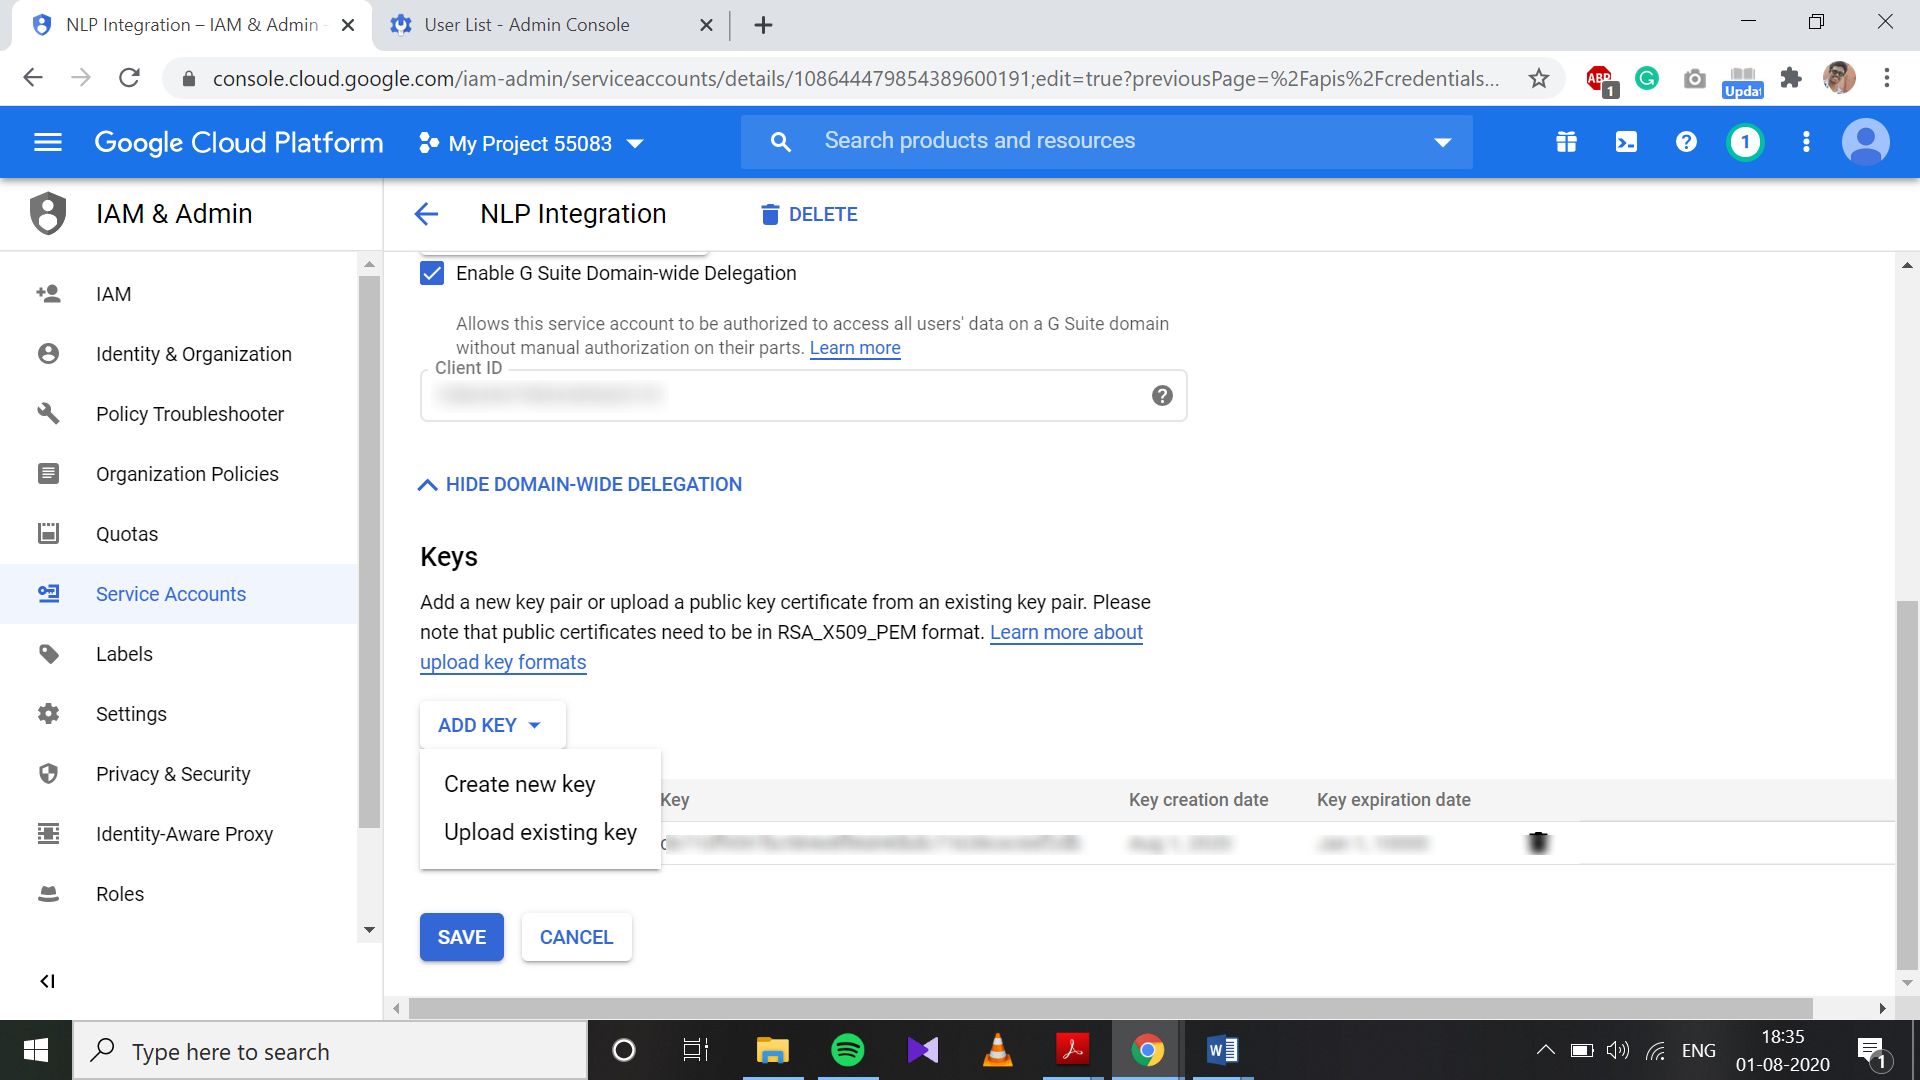
- Click on Add Key button and select Create a new key.
- Select Key Type as JSON and click on Create.
- JSON file would have been downloaded.
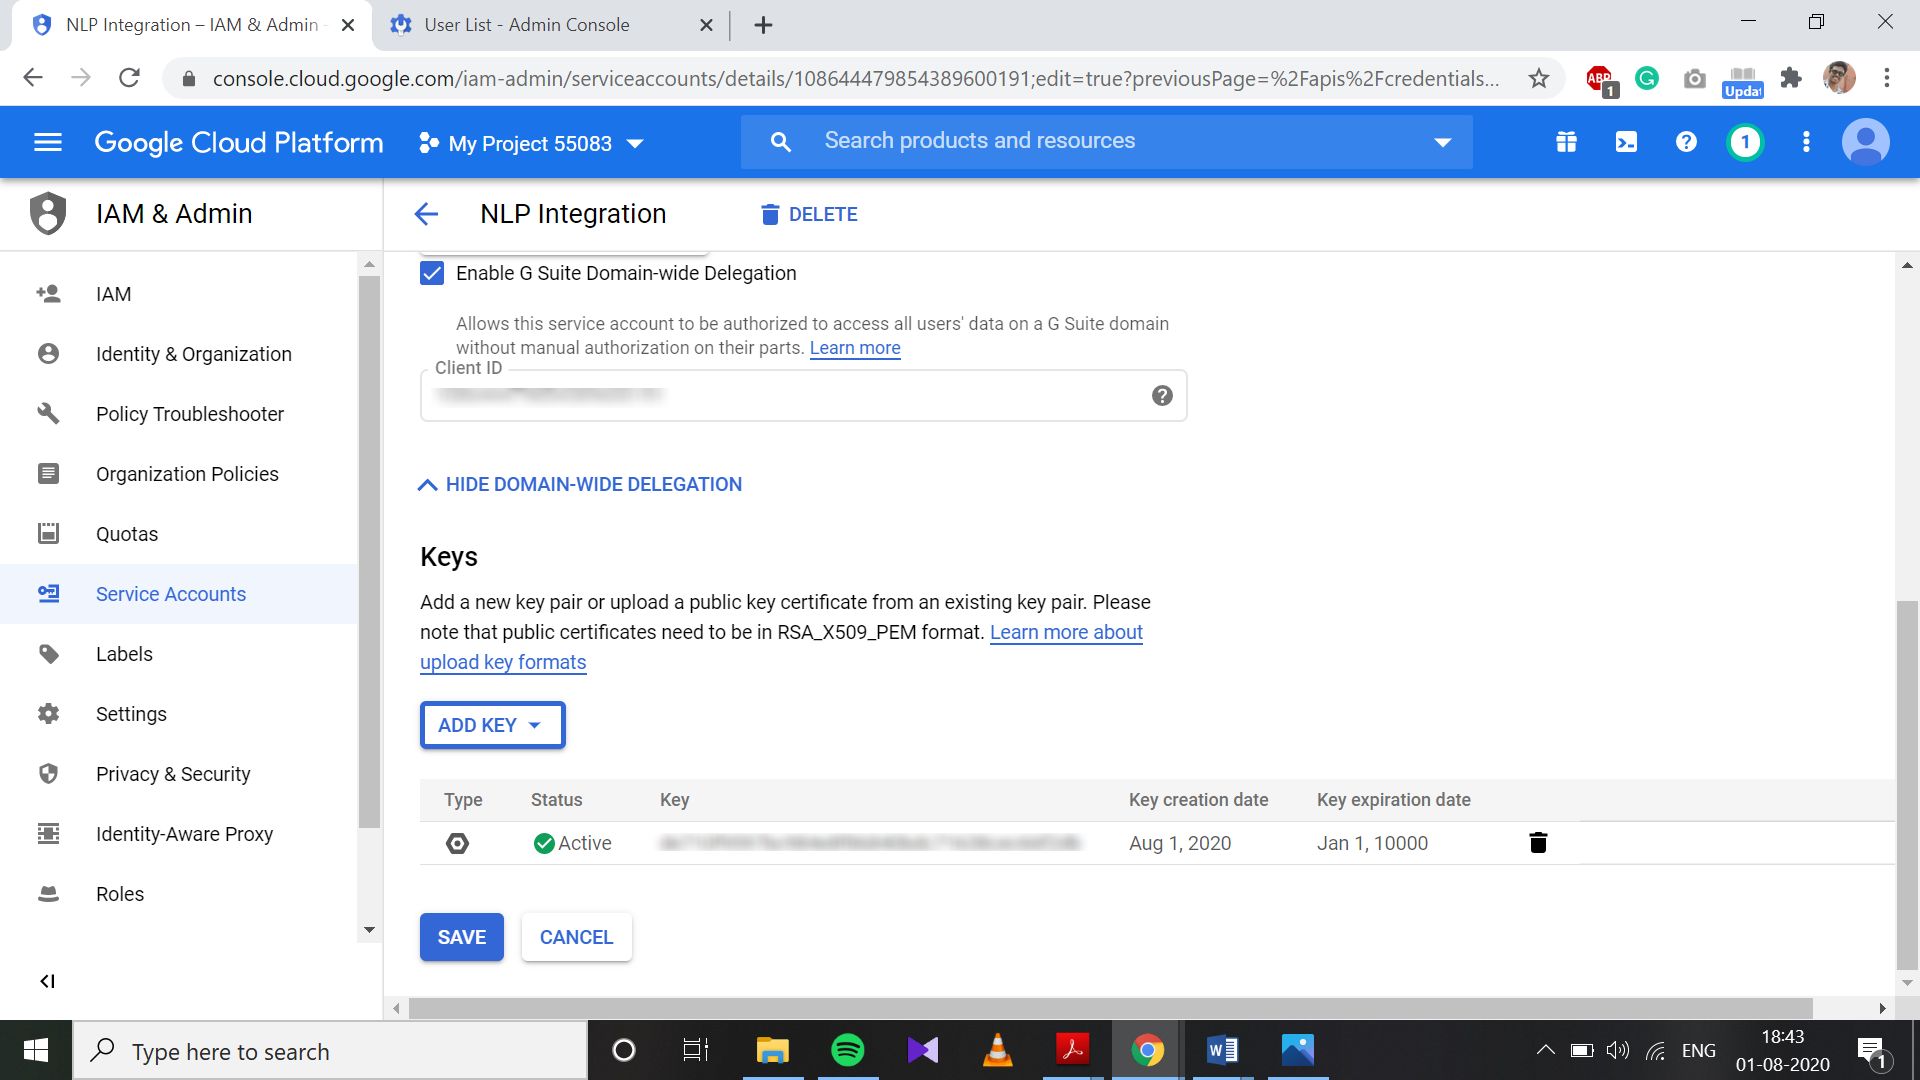
- Click on Save button.

5.The JSON file downloaded has to be uploaded in the Integration page in NLP Admin account under Settings>School Setup>Meeting Software Integration>Google Meet.
-
- Go back to API & Sevices pane, click on Credentials to open the API Credentials page.
Authorize Calendar API
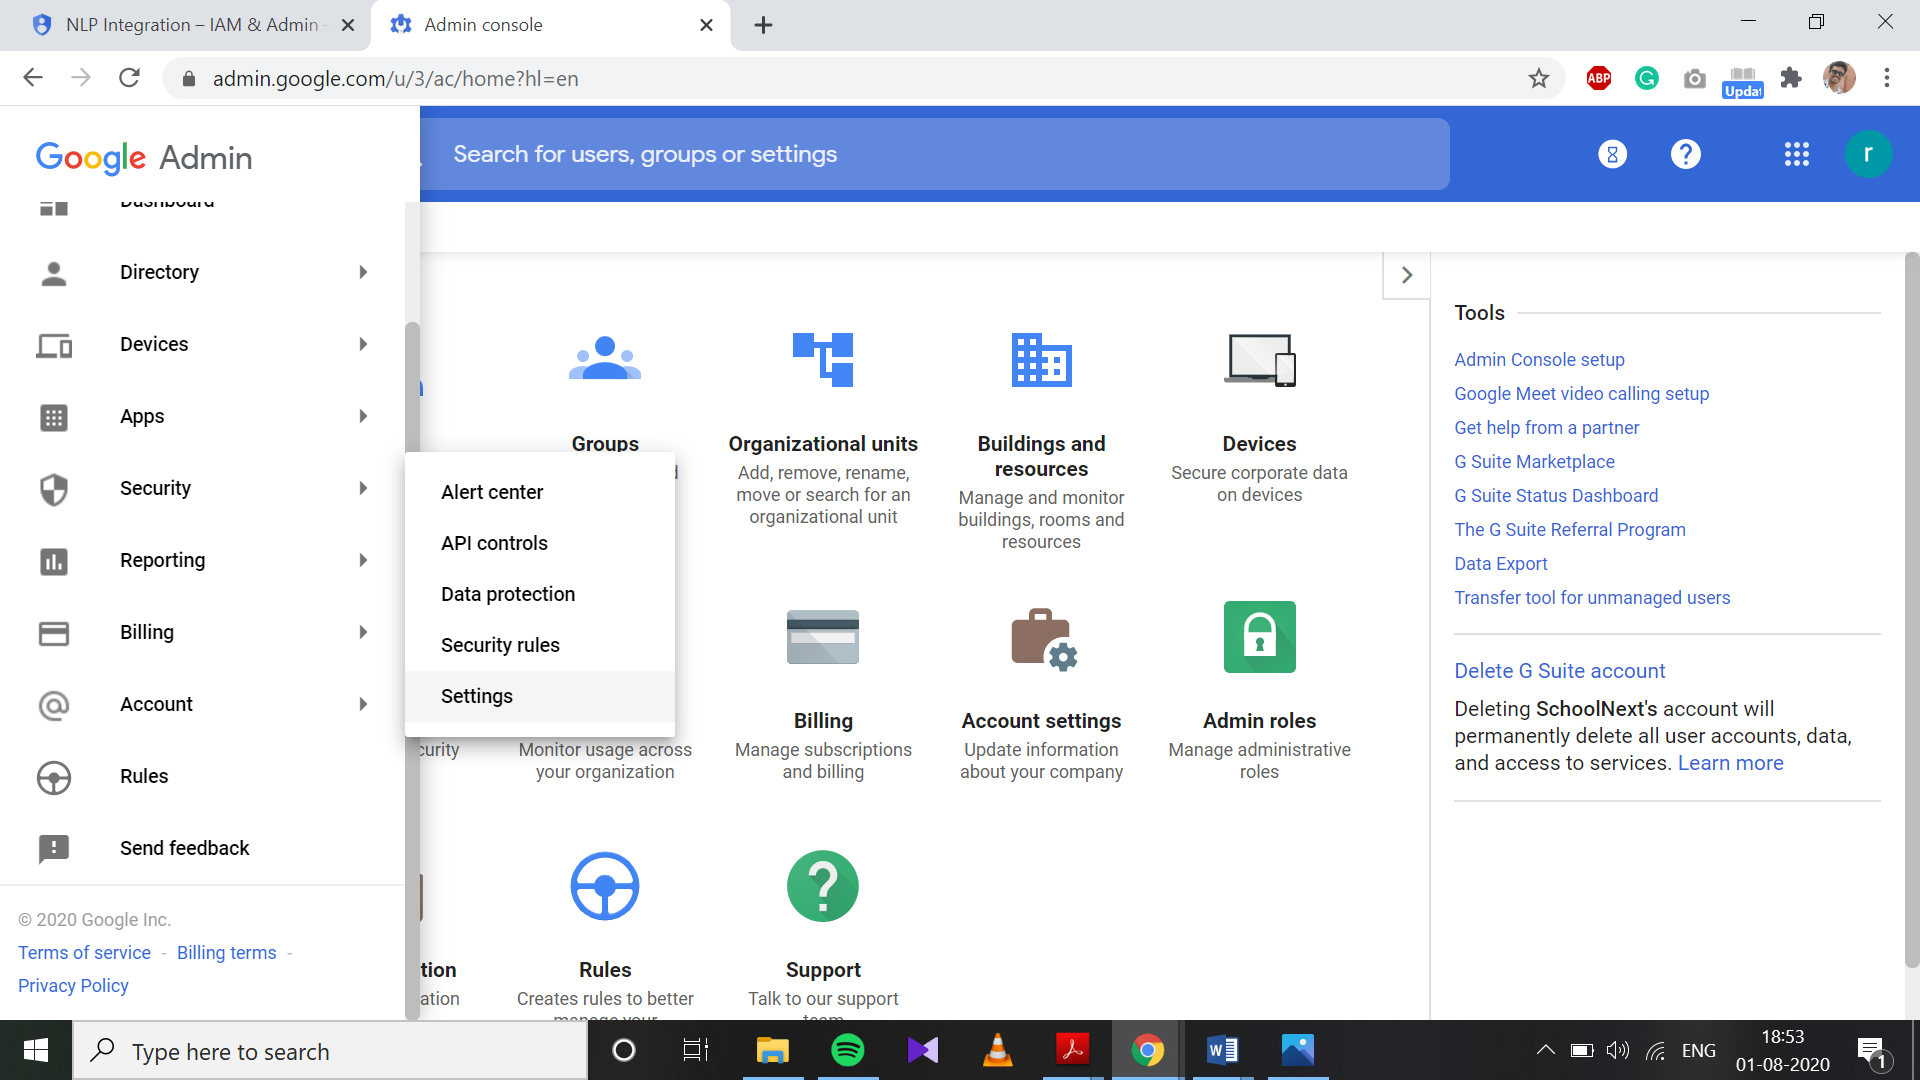
- Go to https://admin.google.com.Sign in with the G Suite admin account.
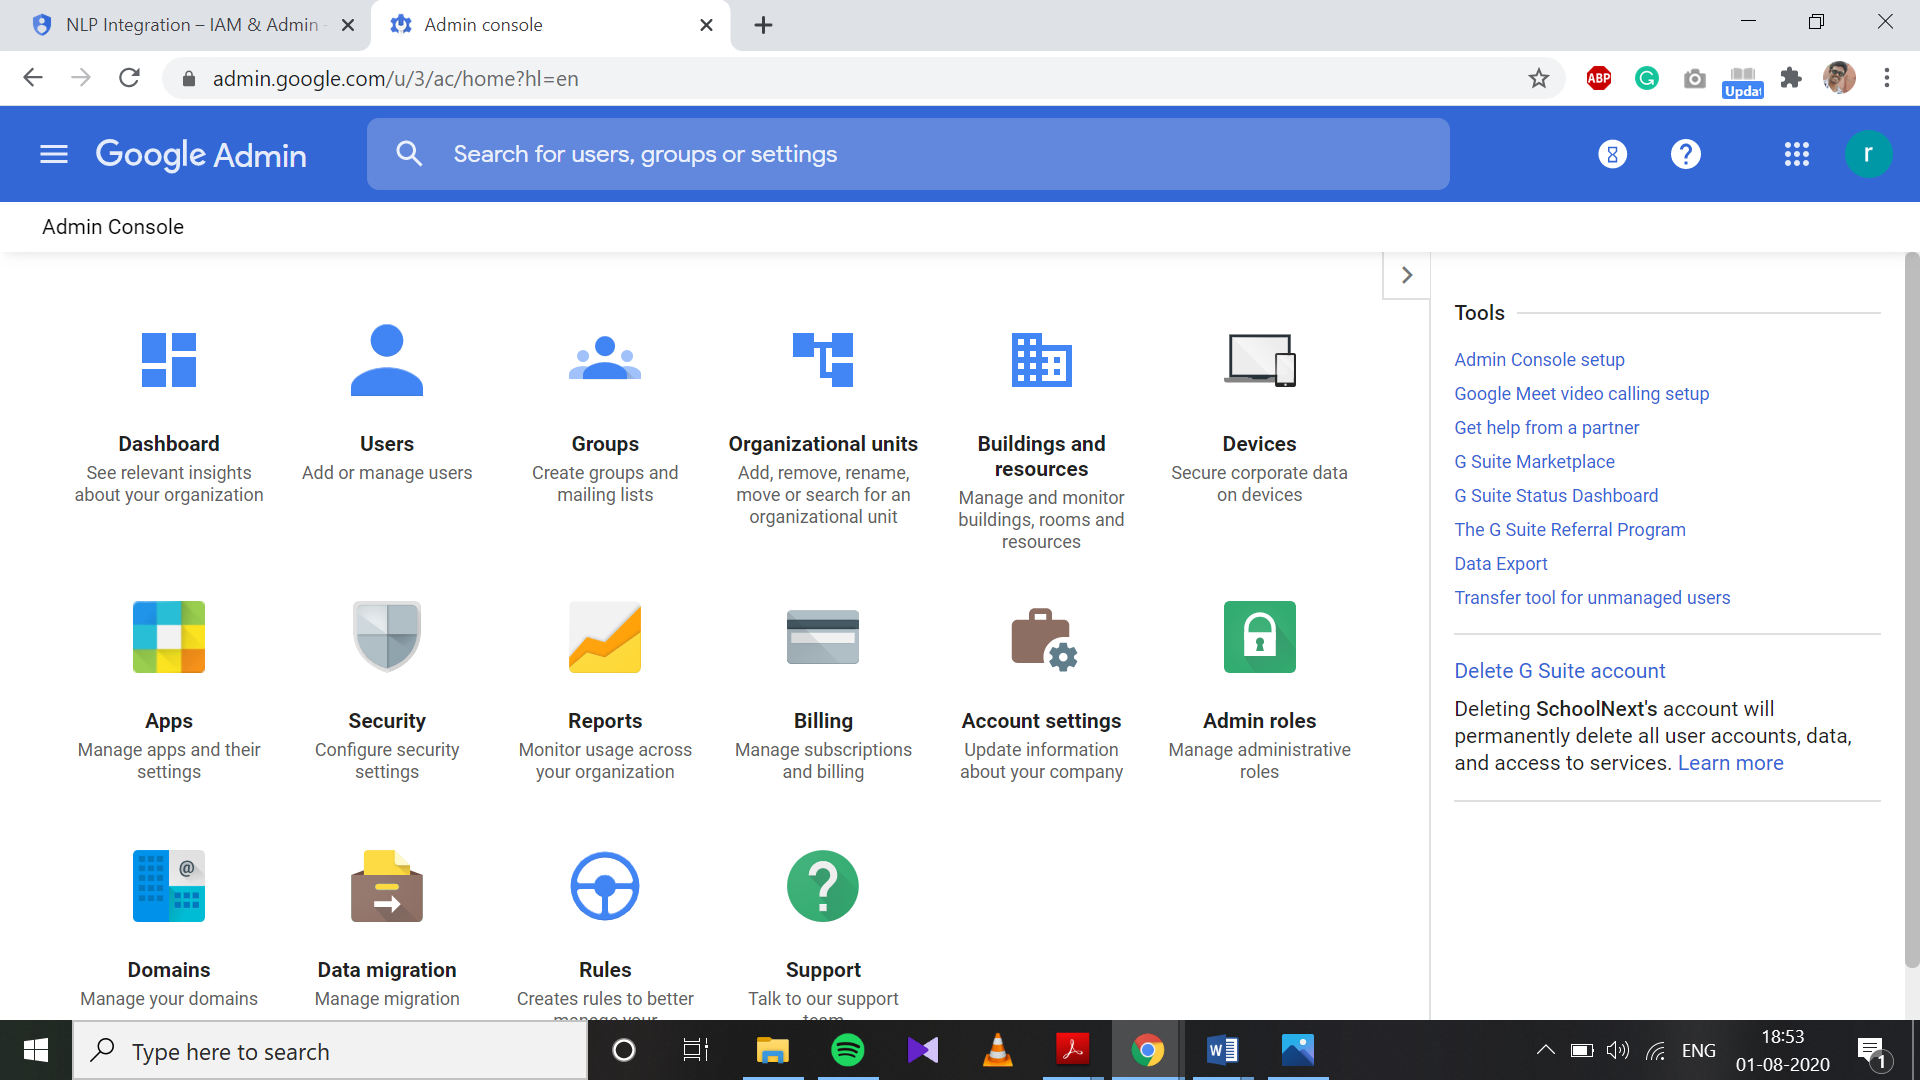
- Under the Security pane, click on Settings to open the Settings page.
-
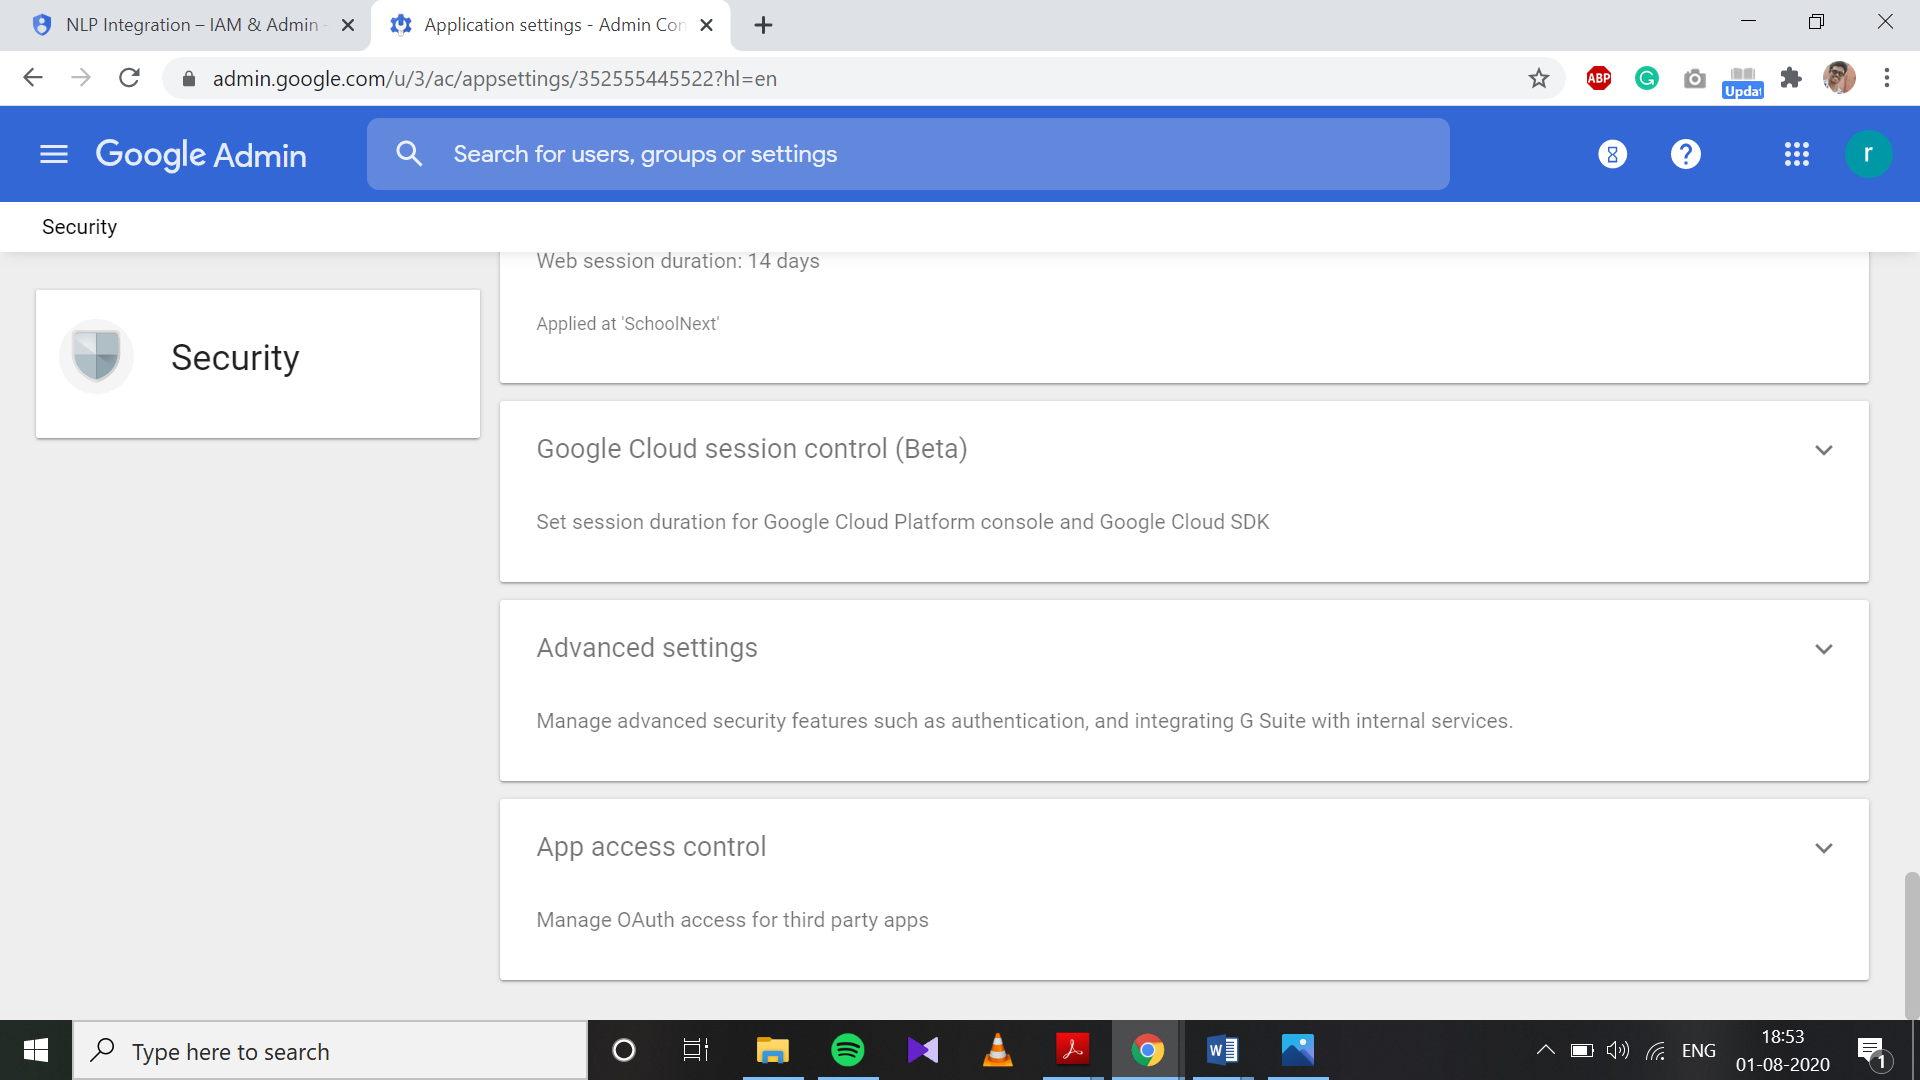
- Select Advanced Settings.
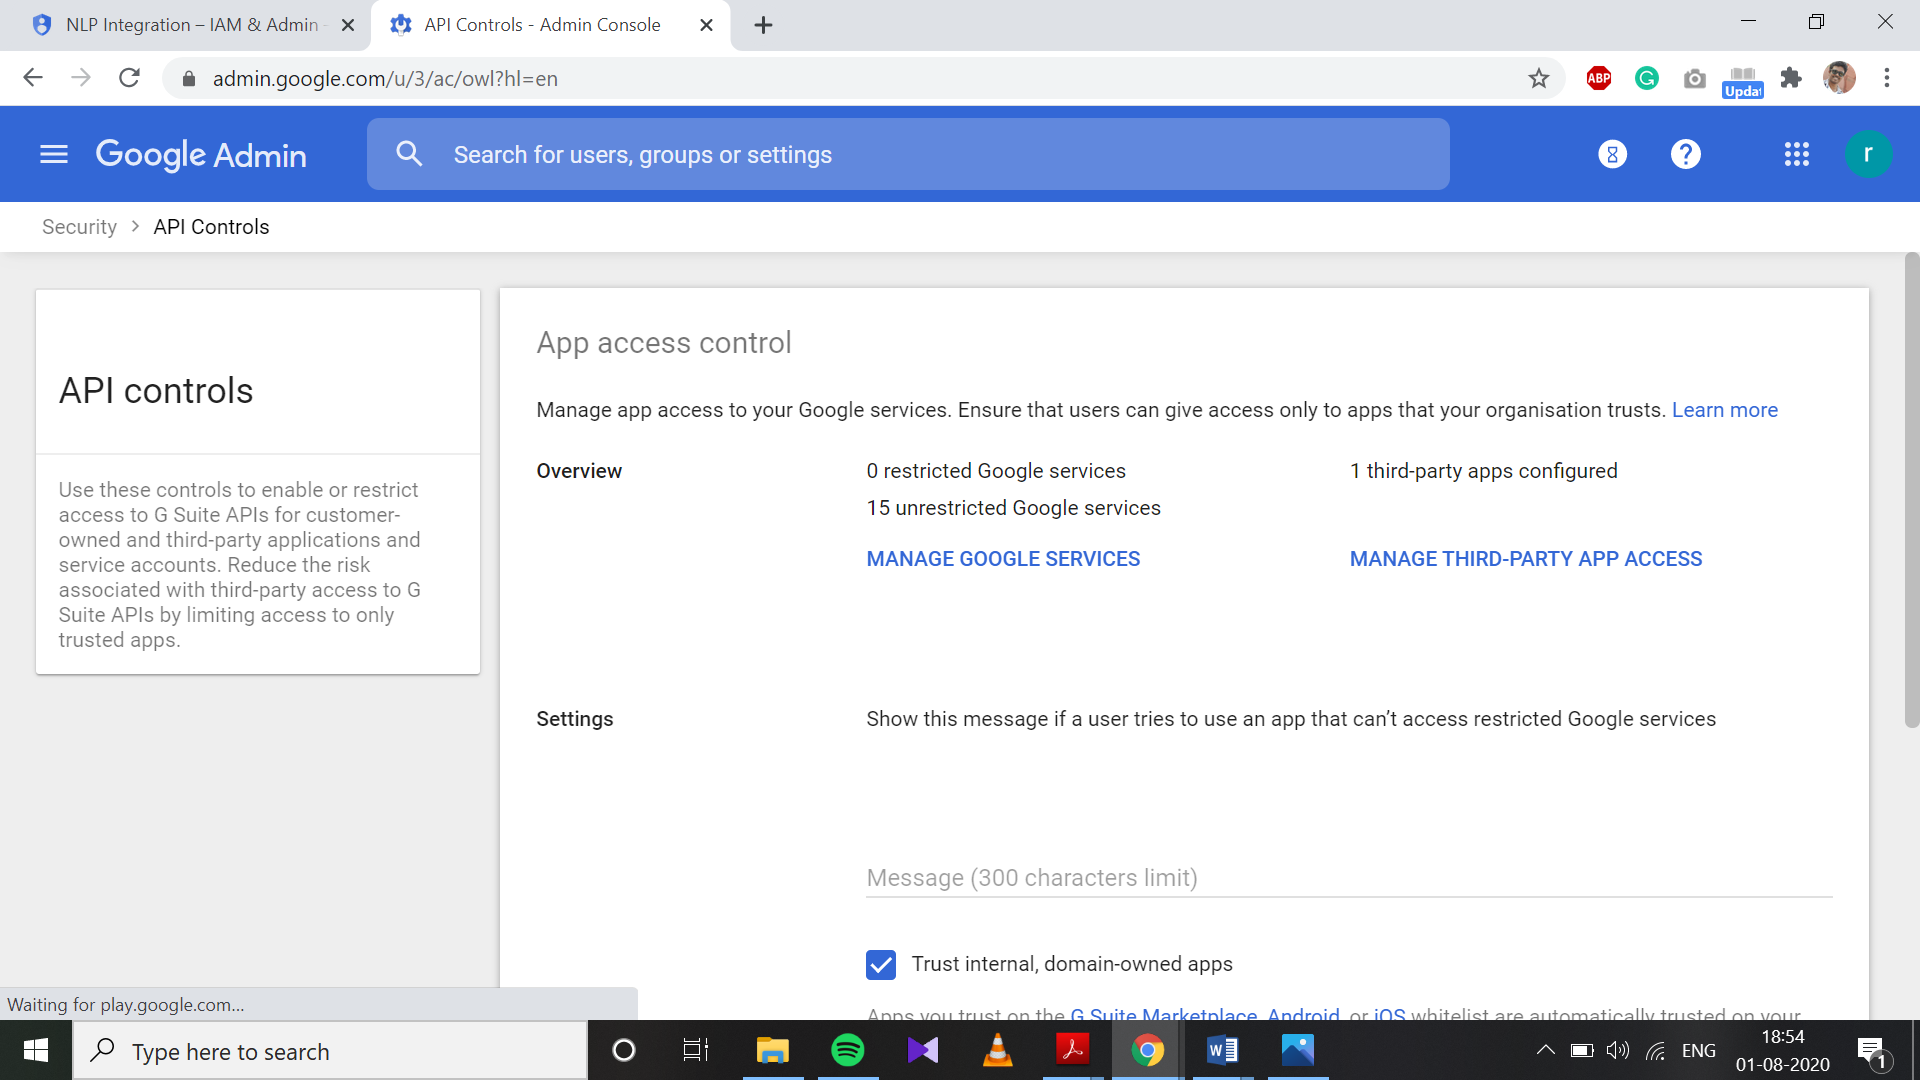
- Click on “Manage Third-Party App Access” and go to API Controls page
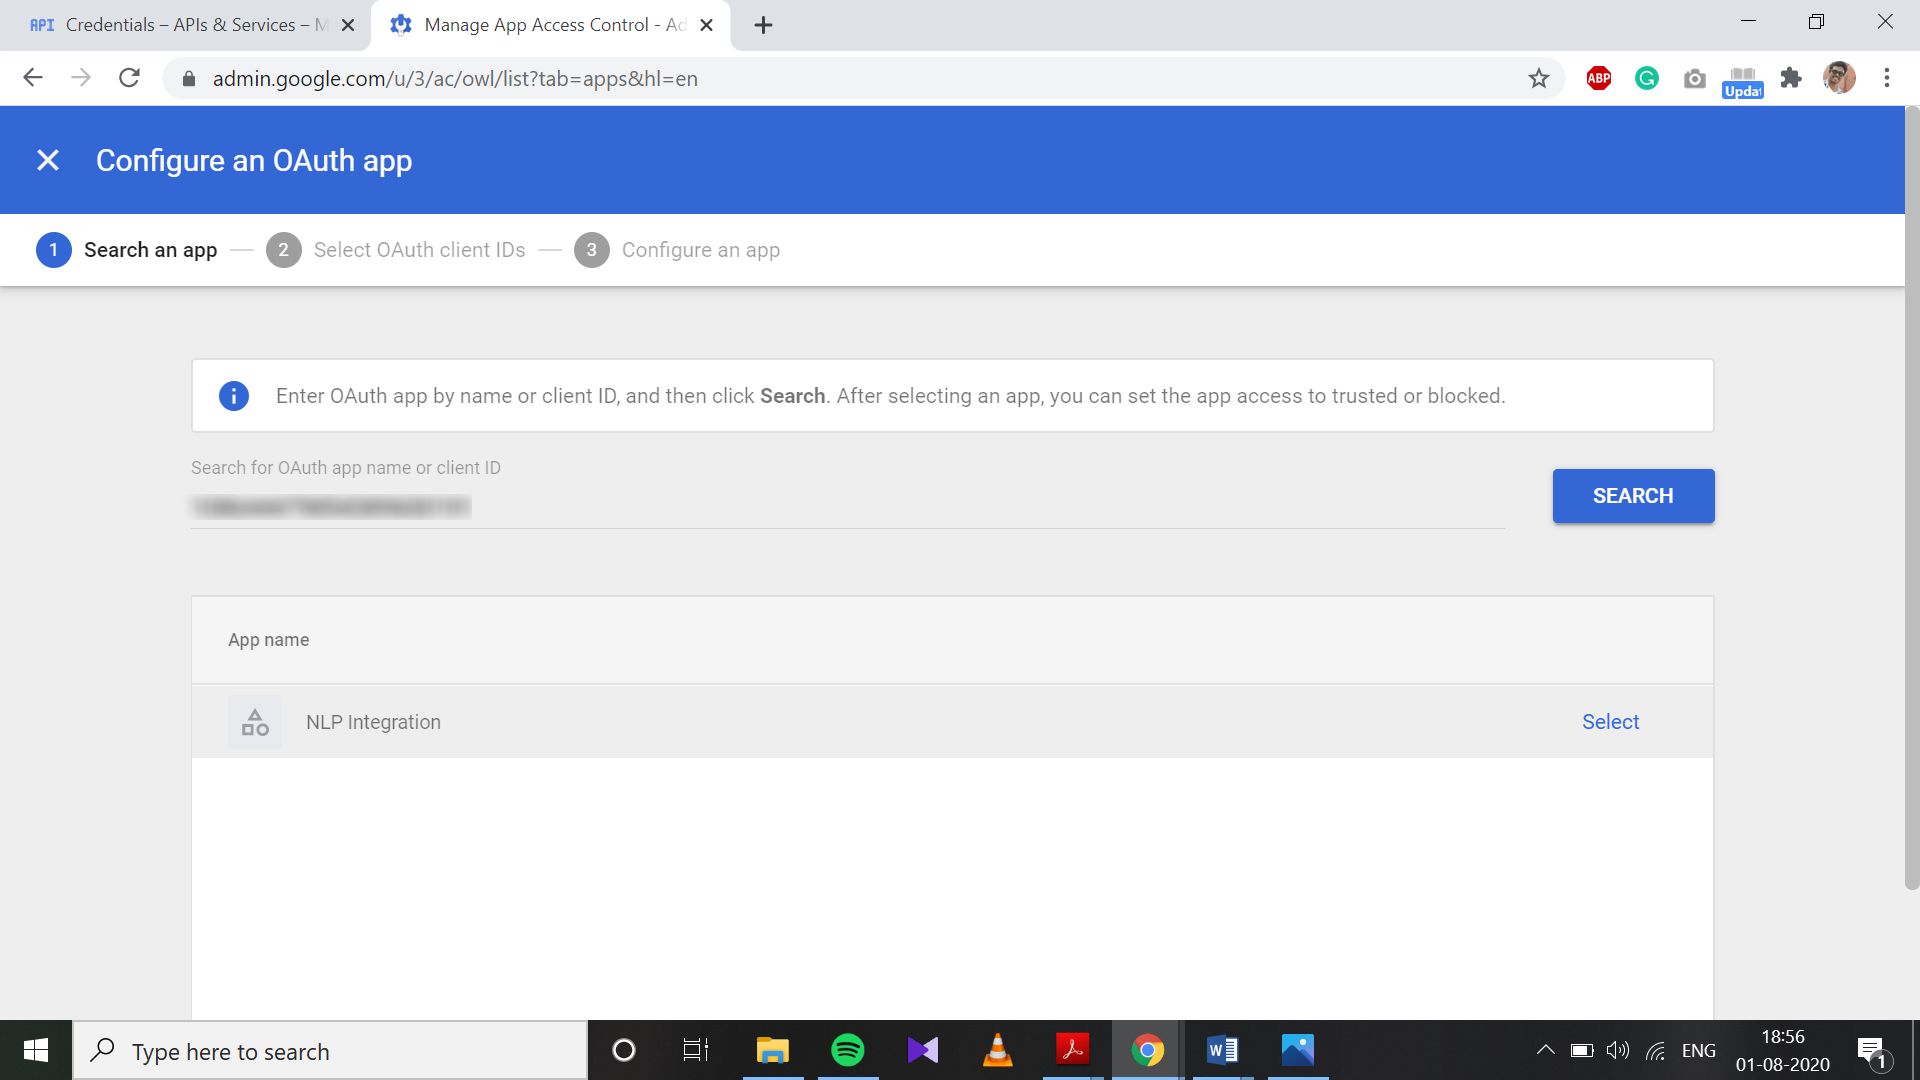
- Click on Configure new app and select OAuth App Name Or Client ID
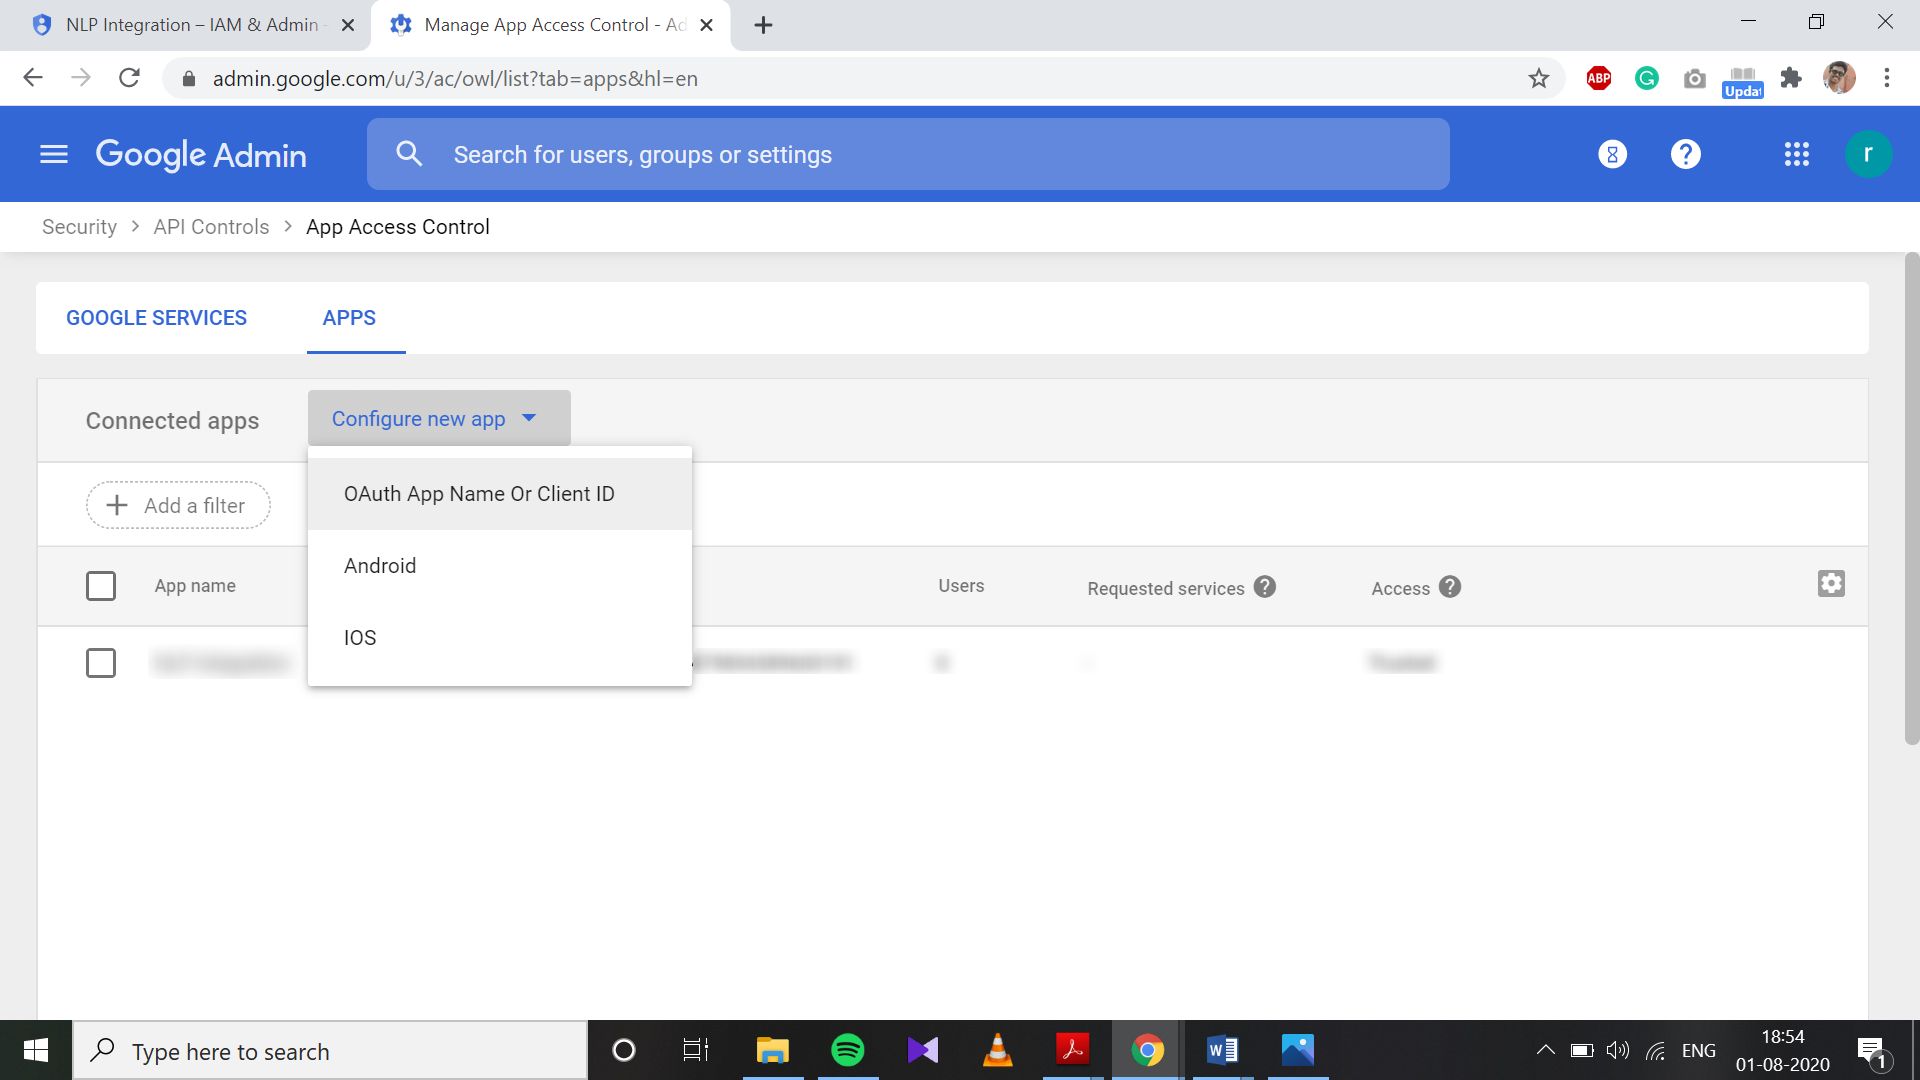
-
- Copy and paste Client ID saved earlier and click on Search.
-
- Once the app is searched, click on Select.
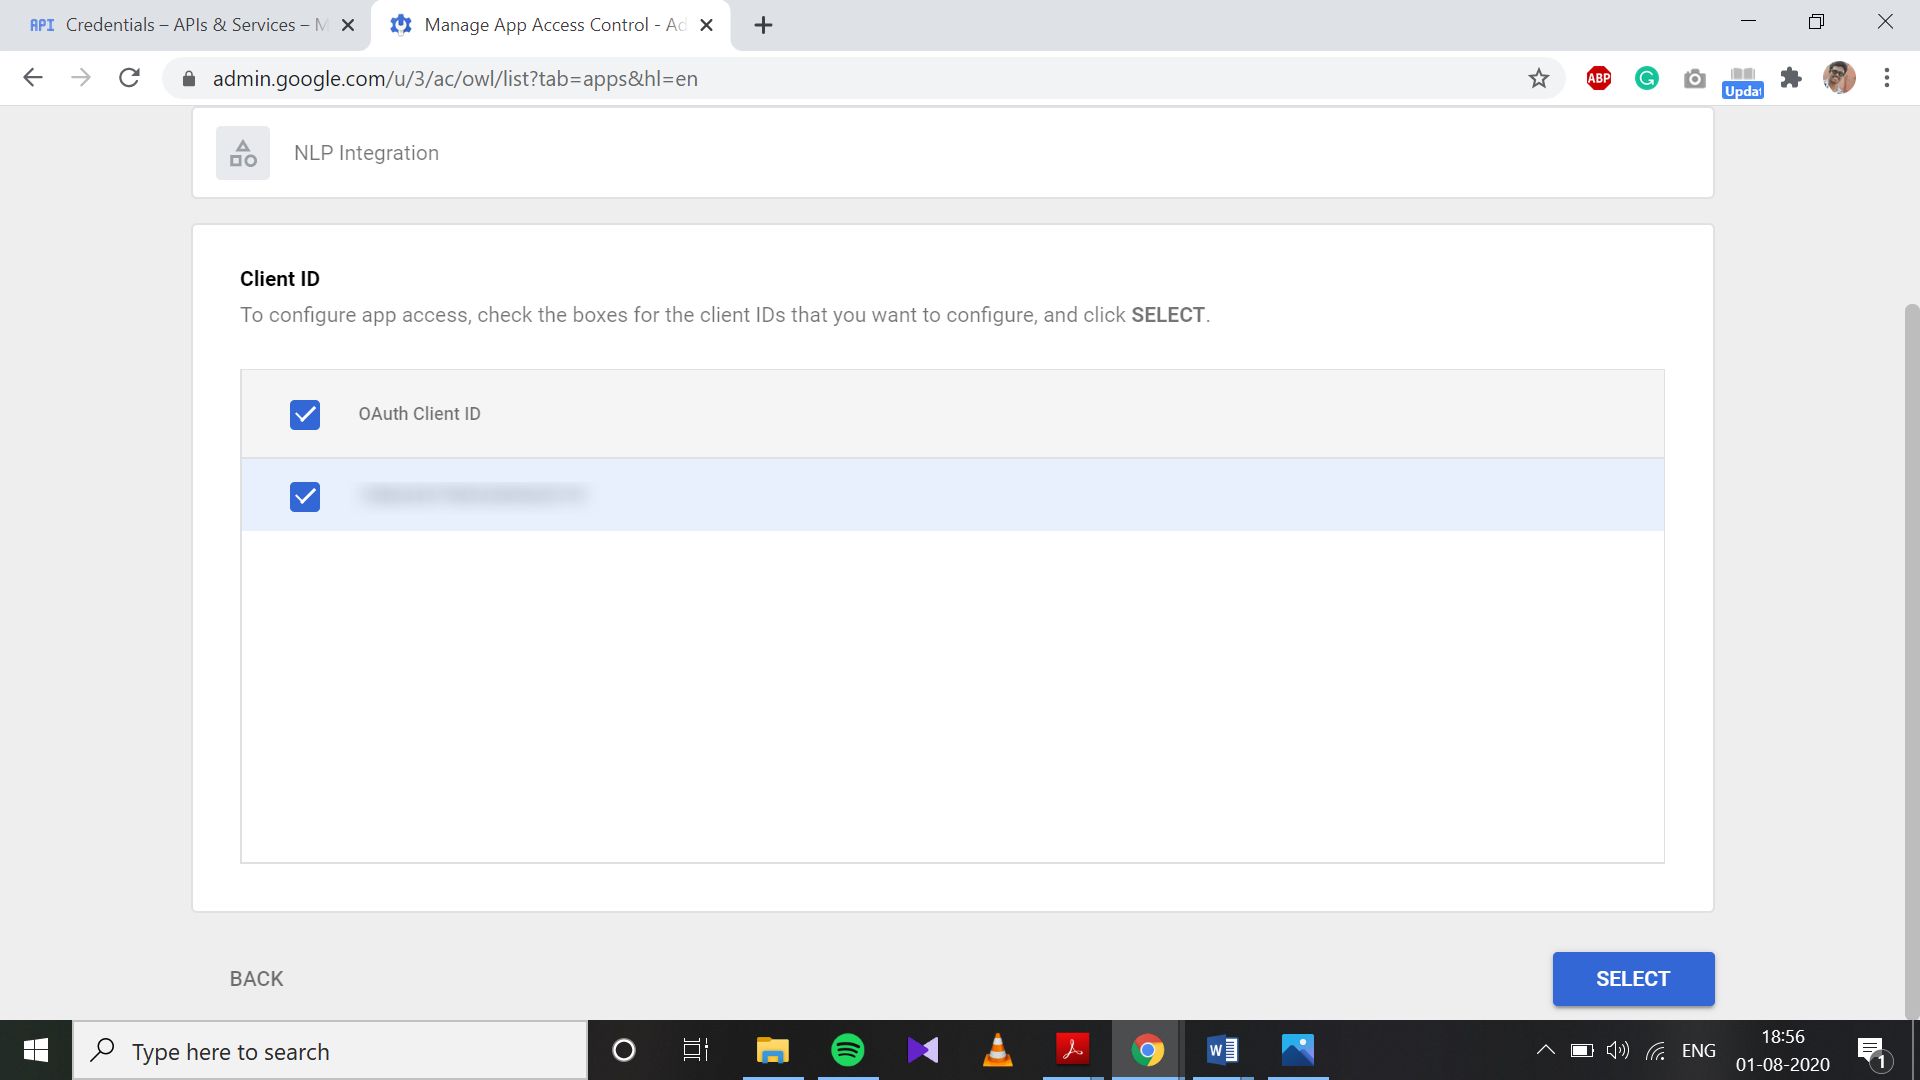
- Check OAuth Client ID and click on Select.
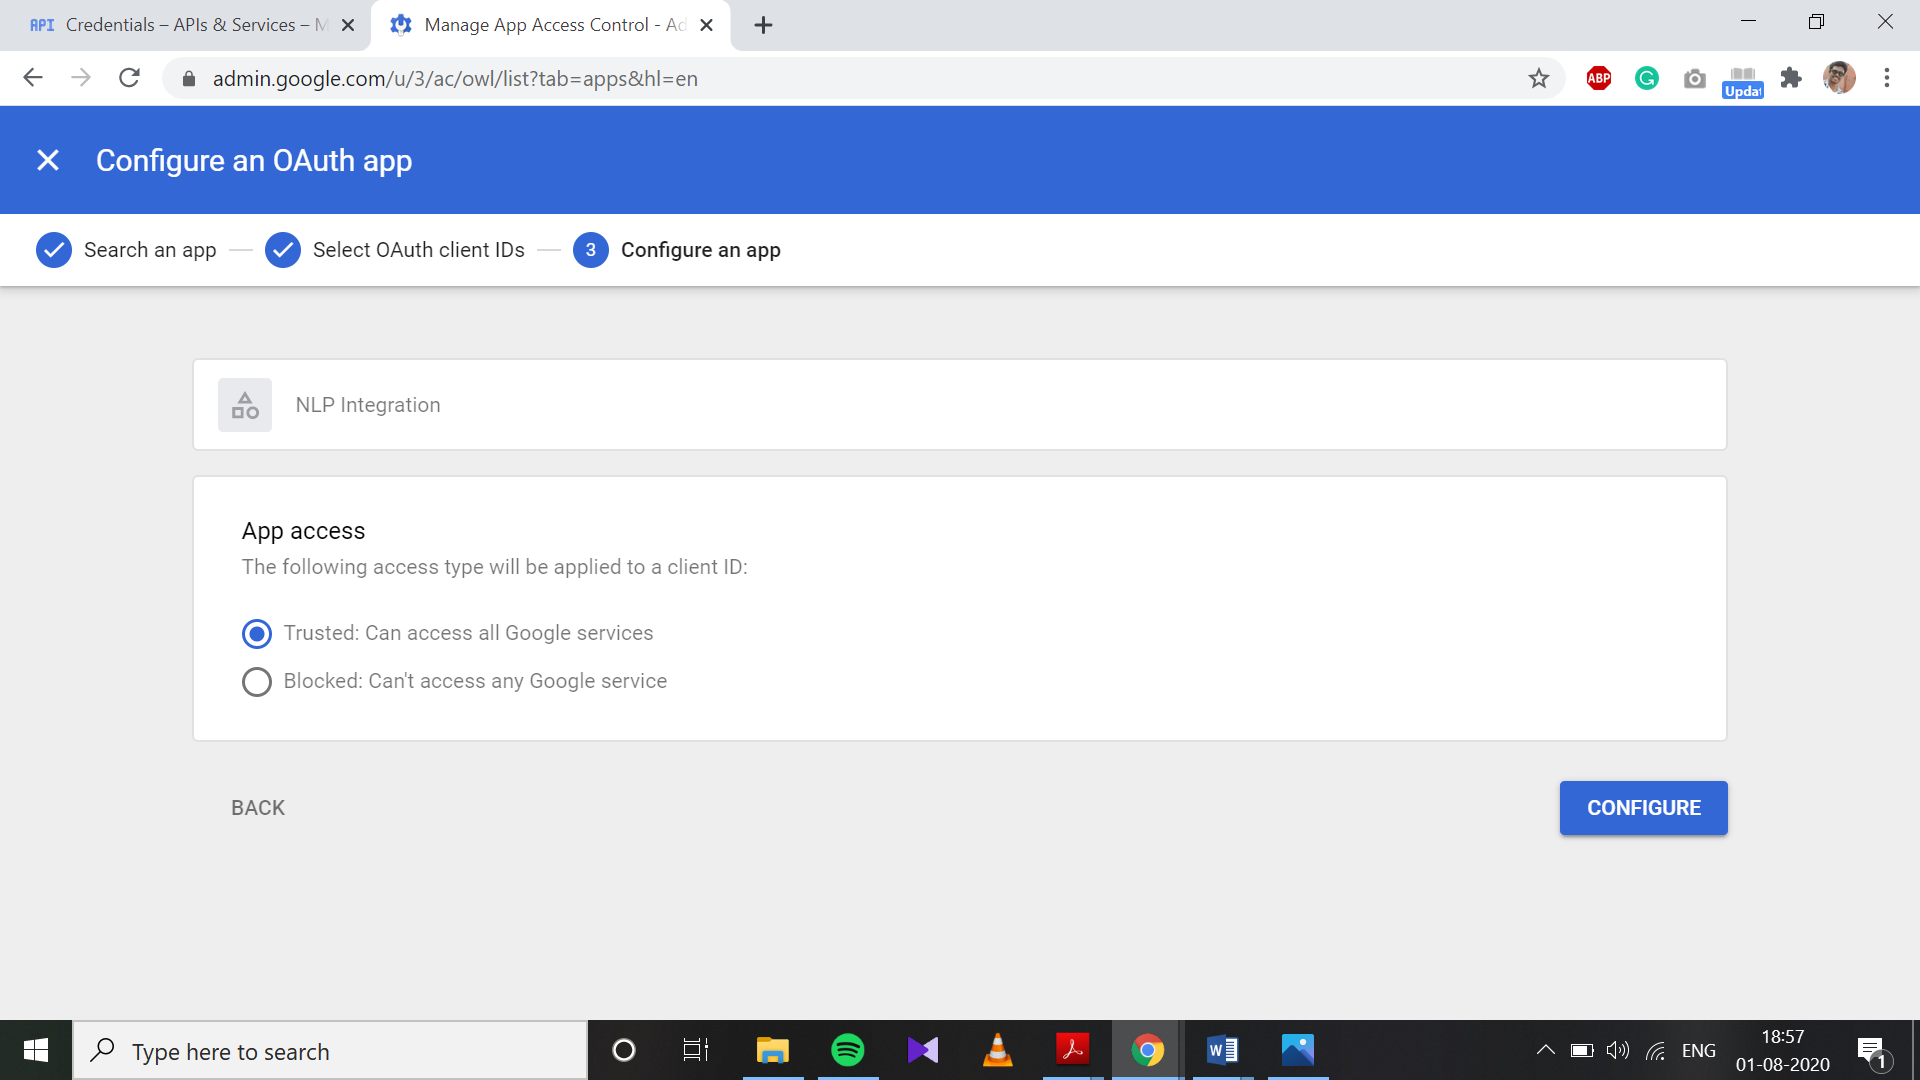
- Check Trusted: Can access all Google Services and click on Configure.
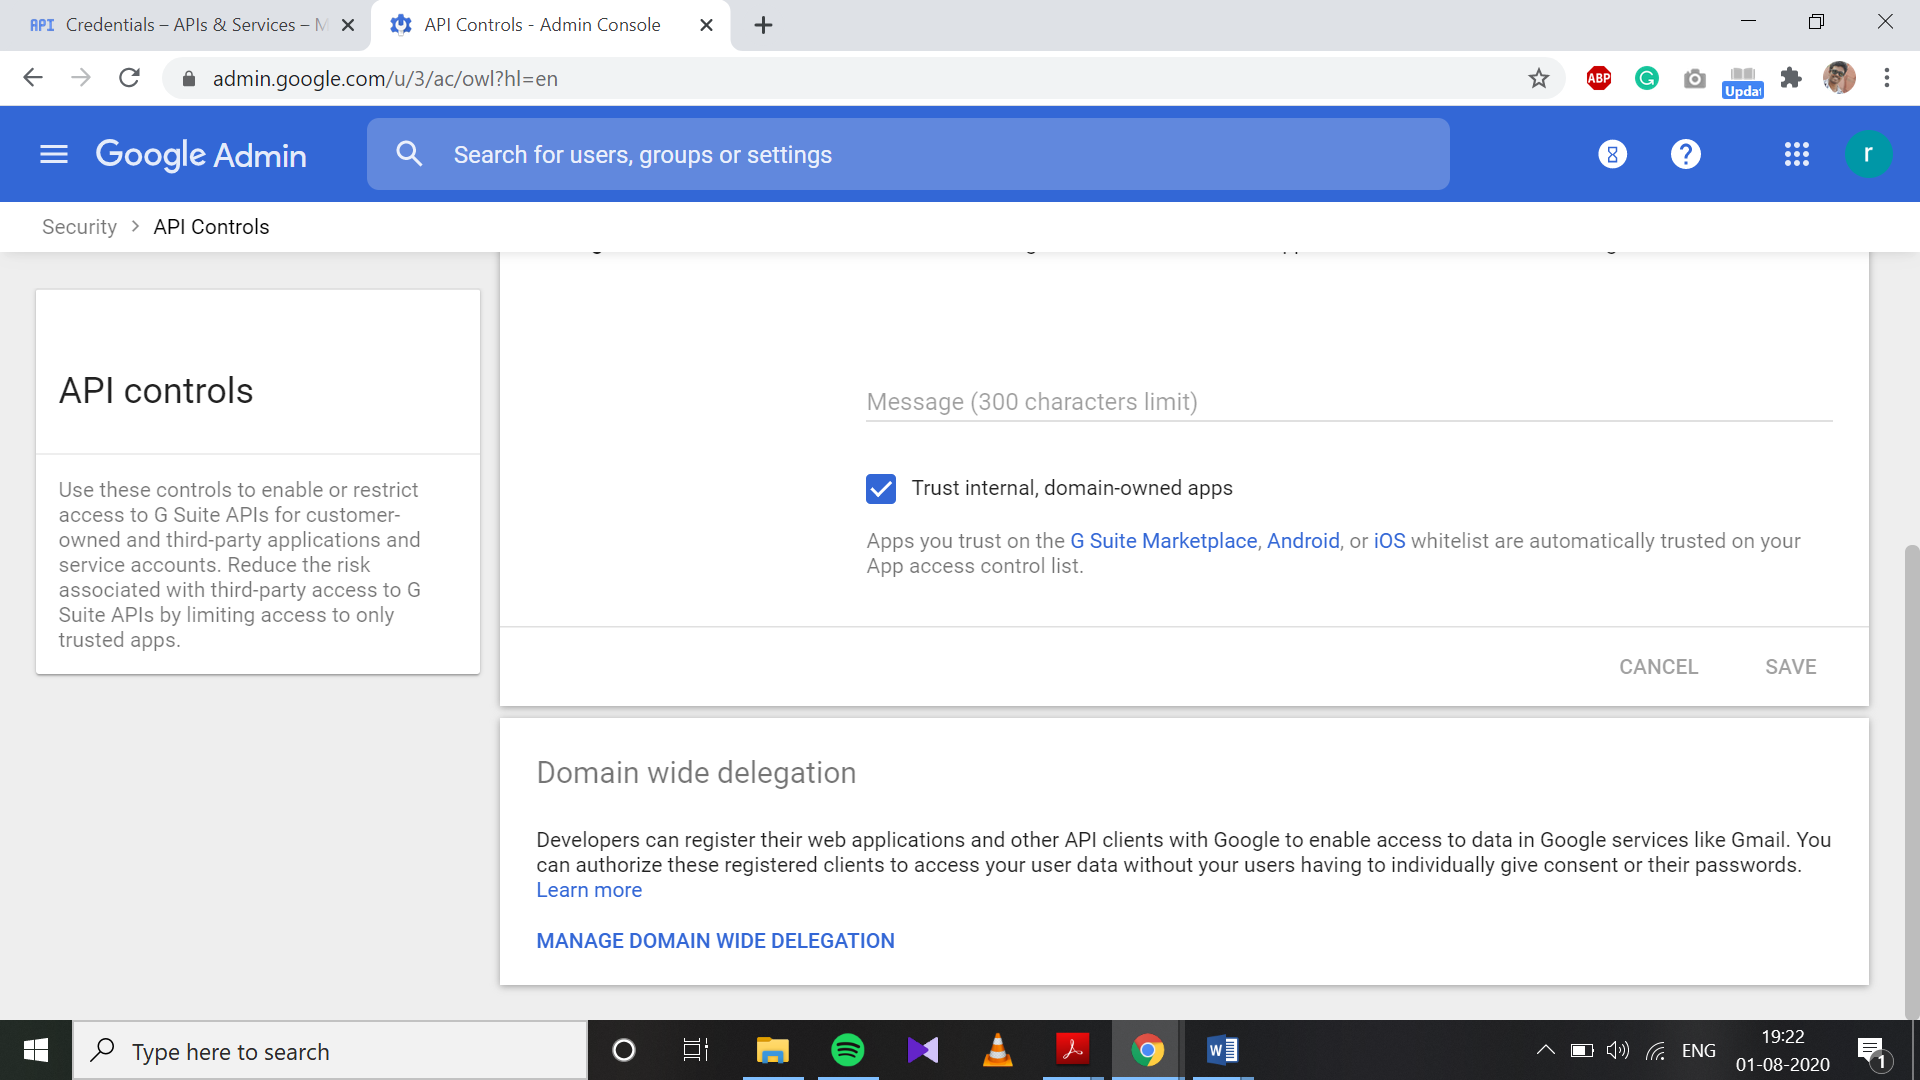
4. Go back to API Controls Page and click on Manage Domain Wide Delegation.
-
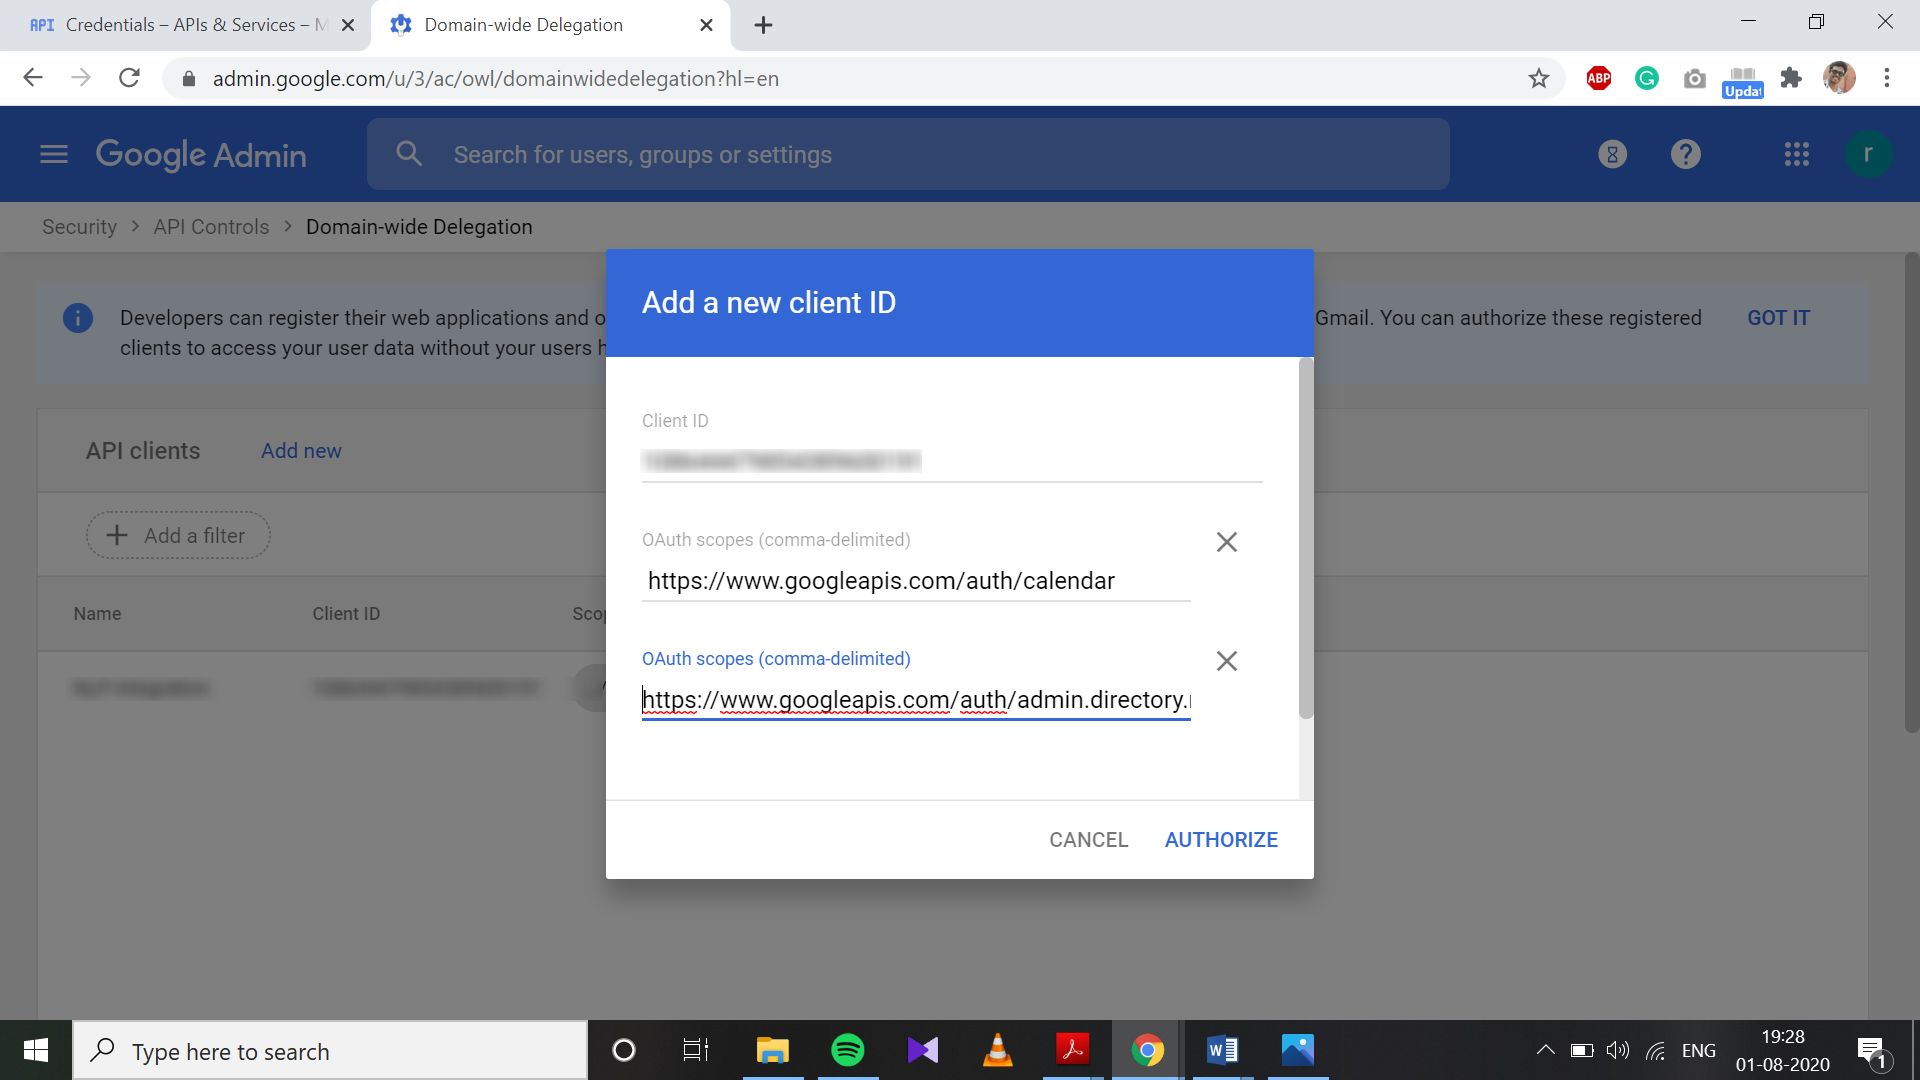
- Click on Add New.
- Add Client Id.
- Add following OAuth Scopes.
- Click on Authorize.
-
-
Was this article helpful to you?
Yes15
No5